
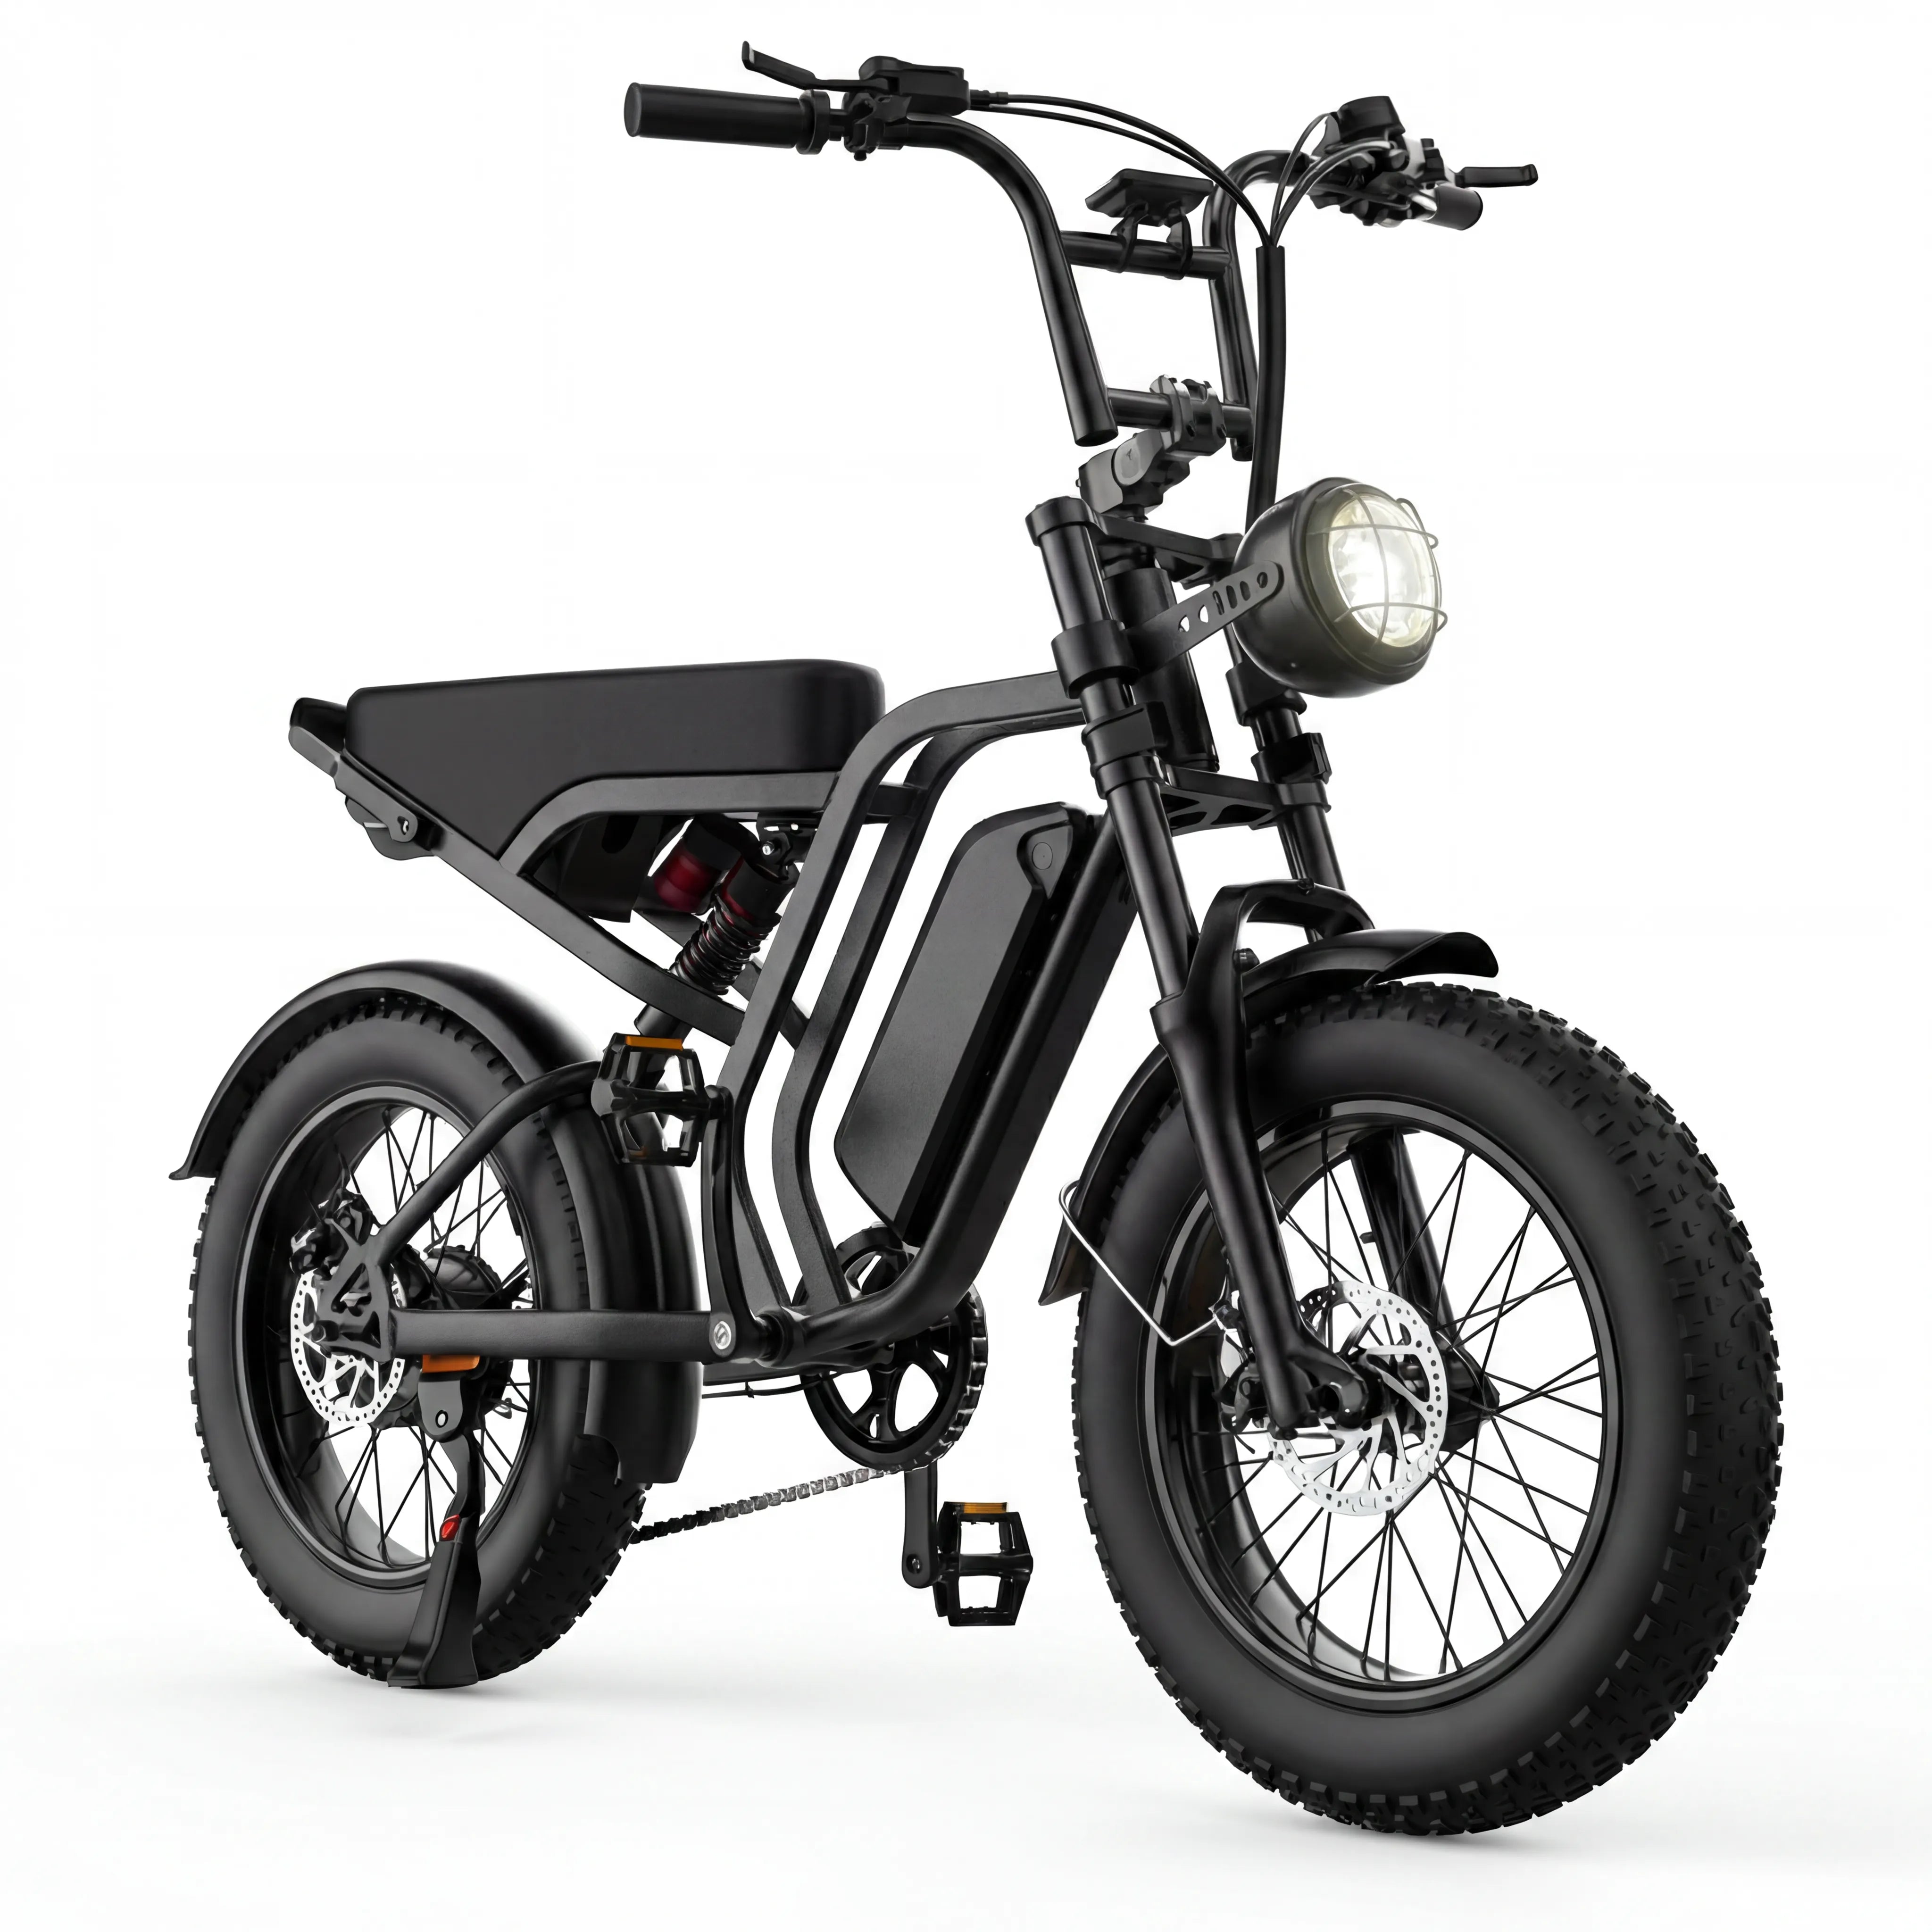
Quick answer: Charge an E-Bike battery with the charger supplied or approved for that exact model, on a stable dry surface, after checking the battery, cable, and connector. Follow the model’s connection sequence, stay alert for unusual heat, damage, swelling, leakage, or odor, and stop rather than trying to diagnose a damaged battery yourself.
Before you charge
Begin with the bike’s manual and charger label. Battery packs, connectors, and charging indicators are not interchangeable just because they look similar. Use the charger that came with the bike or one the manufacturer has specifically approved for that battery. Do not rely on a marketplace listing, a familiar-looking plug, or advice intended for a different E-Bike.
Choose an indoor area that is dry, stable, and clear of clutter. Keep the battery and charger where a cord will not be crushed, pinched, tripped over, or exposed to water. Do not charge on a bed, sofa, loose fabric, or another surface that can trap heat. Keep exits clear so charging equipment never becomes an obstacle if something goes wrong.
Run a quick pre-charge check
- Look for cracks, swelling, leakage, unusual discoloration, or a damaged casing.
- Inspect the charger cable and connector for cuts, bent contacts, loose parts, or scorch marks.
- Make sure the battery and connector are dry and free of debris.
- Use the manufacturer’s guidance if the battery has just completed a demanding ride or feels unusually warm.
If any item fails this check, do not connect power. A visual inspection cannot prove that a battery is safe, but it can identify obvious reasons to stop and ask the manufacturer or a qualified service provider for guidance.
Step-by-step charging process
- Park and secure the bike. Put the bike where it cannot roll or fall while you work. If the battery is removable, follow the model’s removal instructions instead of forcing its lock or rail.
- Prepare the charger. Confirm that the charger, outlet, and cable are in normal condition. Avoid extension-cord arrangements unless the manufacturer’s instructions expressly support the setup.
- Connect in the documented order. Your manual controls whether the charger connects to the wall or battery first. Follow it exactly; connection order is a model-specific instruction, not a universal rule.
- Check the initial indication. Look for the normal charger or display behavior described by the manufacturer. An unexpected light pattern, repeated disconnecting, or unusual sound is a reason to stop.
- Let the charge finish without improvising. Do not cover the equipment, alter the connector, or repeatedly unplug and reconnect it to chase a display reading.
Charging is not a range test. A full-looking indicator does not erase the effects of terrain, wind, assist level, cargo, temperature, stops, or battery condition on the next ride. For route planning, use a conservative reserve and review the practical E-Bike range guide separately.
What to do after charging
When charging is complete, disconnect using the sequence in the manual and store the charger so its cable and plug are protected. Reinstall a removable battery only as the bike instructions describe. Before riding, make sure the battery is seated and locked correctly; do not assume a battery is secure because it appears to sit in the frame.
Do not use charging time to postpone a needed inspection. If the bike, battery, charger, or display acted differently from normal, make a note of what happened and contact support before the next routine ride. A clear description—what was connected, what the indicator showed, and whether the battery felt abnormal—is more useful than attempting a repair.
Everyday charging habits
A repeatable routine is safer than a collection of shortcuts. Charge where you can see the equipment, keep the approved charger with the bike, and avoid treating the battery as a generic USB device. If you charge at work, school, or an apartment common area, first confirm that charging is allowed and that the location can accommodate the equipment safely.
Build your commute around the battery you have rather than routinely arriving with no margin. A rider who uses high assist into a headwind with cargo may see a different result from a light rider on a flat route. Planning the trip with reserve is usually more useful than trying to make one charging session solve every route variable.
Charging after a ride
After an ordinary ride, start with the same inspection: dry connector, intact cable, normal battery casing, and a charging area ready for use. After a demanding ride, pay attention to the manufacturer’s instructions about handling a warm battery. Do not attempt to cool a battery with water, place it in a freezer, or use an unapproved device to change its temperature.
If the ride involved rain, puddles, a crash, or a hard impact, do not make assumptions about the battery’s condition. HIEHA’s repository does not provide approved model-specific water-ingress guidance for the SU8 family, so this article does not promise water resistance. When there is uncertainty, stop and obtain model-specific support.
Short-term and long-term storage
For a short break between rides, keep the battery and charger in the dry, protected location specified by the manufacturer. Avoid leaving either item where it can be damaged, exposed to moisture, or made inaccessible in an emergency. The right short-term routine is usually about protecting the equipment and keeping the next inspection easy.
For longer storage, use the model’s documentation rather than a generic internet percentage, temperature number, or calendar rule. Battery types and manufacturer instructions differ. Check the battery periodically only as the manual directs, and do not leave a damaged or questionable battery in storage while hoping the issue resolves itself.
Warning signs: stop charging and get help
| What you notice | Safe response |
|---|---|
| Swelling, leakage, cracked casing, or abnormal odor | Do not charge, ride, open, or transport the battery as though nothing changed. Follow manufacturer or qualified-service guidance. |
| Unusual heat, smoke, sparking, or a scorched connector | Stop using the equipment and move away from immediate danger. Follow local emergency guidance when conditions are unsafe. |
| Charge indicator behaves unexpectedly | Disconnect only when it is safe to do so, note the behavior, and ask support for the model-specific next step. |
| Battery or charger was dropped, crushed, or involved in a collision | Do not assume an intact exterior means the equipment is safe. Seek guidance before charging again. |
What riders should not repair themselves
Do not open a battery case, bypass a BMS, repair cells or internal wiring, modify a charger, or force a connector to fit. Those actions can create risks that are not visible from the outside and can remove the manufacturer’s ability to evaluate the original problem. The same boundary applies to an improvised replacement battery: compatibility is more than matching a number printed on a label.
Quick charging checklist
- Use the exact approved charger and the model’s instructions.
- Inspect battery, cable, and connectors before connection.
- Charge in a dry, stable, uncluttered location with clear exits.
- Follow the documented connection and disconnection sequence.
- Stop for damage, leakage, swelling, unusual heat, odor, smoke, sparking, or abnormal indicators.
- Store the battery according to the model documentation; do not invent a universal storage rule.
Confirm model-specific details before changing equipment
The HIEHA E-Bike collection lists the SU8 models. The SU8 1.0 product page identifies a removable 48V 15Ah lithium battery with BMS, while current details and compatibility questions should be checked through the HIEHA E-Bike FAQ before replacing a charger or battery. The useful next step is not a universal charging rule; it is confirming the instruction for the equipment you actually own.
Battery care is only one part of ownership. Use a practical e-bike maintenance checklist to review tires, brakes, controls, and the drivetrain alongside the checks in your model documentation.
Share:
Full Suspension vs. Hardtail E-Bikes: Which Should You Choose?
What to Look for When Buying an Electric Bike