
A hill can turn a short e-bike ride into a very different kind of trip. The useful question is not simply whether an e-bike is “powerful enough.” It is whether the bike, the rider, and the route work together often enough to make the climb predictable and comfortable. A gentle half-mile rise on smooth pavement asks for something different from a steep, stop-start street, a loose path, or a long climb at the end of a commute.
This guide gives you a route-first way to compare choices. It avoids treating one headline number as a promise. Motor assistance, gearing, brakes, tires, battery planning, rider position, and practice all matter. Start by describing the ride you actually expect to repeat, then use that description to narrow your options.
Start with the route, not the product page
Before comparing models, ride or map the route without trying to judge it by one dramatic hill. Note where the climbing starts, how long it lasts, whether there are intersections, and what the surface is like. A hill that is brief but interrupted by stop signs may demand easy restarting. A continuous climb may reward a comfortable cadence and battery margin. Descents deserve equal attention: the route home may be where braking confidence and visibility matter most.
Write down a few repeatable conditions: your usual distance, the heaviest bag you carry, road or trail surface, typical weather, and whether you can charge at either end. If you share the bike, include the other rider’s height and confidence level. Those notes are more useful than a single “steep hill” label because they reveal the tradeoffs you will live with after the first test ride.
| Route clue | What to compare | Why it matters |
|---|---|---|
| Long, steady pavement climb | Comfortable assist control, usable low gears, battery plan | You want a pace you can sustain without draining the battery early. |
| Steep stop-and-go street | Stable starts, clear controls, low gearing, brake feel | Restarting safely matters as much as peak assistance. |
| Rough or loose surface | Tire suitability, traction, fit, and rider control | Surface grip can limit confidence before the hill itself does. |
| Fast or long descent | Braking performance, tire condition, lights, and practice | Descending adds heat, speed, and decision-making demands. |
If you are still learning the language of tires and surfaces, compare the practical tradeoffs in HIEHA’s fat tire versus regular tire e-bike guide. It is not a substitute for a test ride, but it helps separate the question of traction and comfort from the separate question of climbing assistance.
Look for control, not a magic number
Motor labels alone do not tell you how a bike will feel on your hill. The complete system includes the controller, the chosen assist level, the gearing, rider input, total load, surface, and battery condition. Treat any claimed output, speed, or range as information to verify for the exact model and local rules—not as a prediction for your route.
For hill riding, prioritize controls you can understand and use without distraction. Can you change assist smoothly before the climb becomes a struggle? Can you see the display in your normal riding position? Are the controls reachable with gloves or smaller hands? A useful test ride includes several starts on an incline, not just one pass at maximum assist. Begin in a lower, manageable gear and assistance setting, then see whether you can keep a comfortable pedal rhythm while maintaining a stable line.
Low gears matter because they let you contribute consistent pedal force rather than forcing slow, heavy turns. They can also make a restart less intimidating. Ask how gear changes work under the conditions you will face, and practice easing pedal pressure briefly as you shift. The goal is not to make every climb effortless; it is to avoid surprises that cause you to weave, stall, or overwork the system.
Plan battery margin for the whole day
Climbs generally use more energy than comparable flat sections, but the real result changes with rider weight, cargo, wind, temperature, tire pressure, speed, surface, and how much you pedal. That is why a range estimate should be a starting point rather than a guarantee. Plan enough margin that you are not forced to finish the return trip with an unfamiliar assist level.
On a test ride, start with the battery charged according to the model documentation and repeat the route in the way you expect to ride it. Keep a simple record of distance, assist use, terrain, and remaining indication. Review the broader variables in the practical e-bike range guide, then use your own observations to decide whether home, workplace, or destination charging is part of the plan.
Battery care also supports more predictable rides. Use the supplied charger and the instructions that came with the bike. Do not improvise storage, temperature, or charging practices from a generic article. If you are comparing an HIEHA model, use the current replacement-battery product page and the model documentation to confirm compatibility before treating a spare battery as part of your hill-route plan.
Evaluate braking and descents with the same care
A bike that feels manageable while climbing must also feel composed on the way down. Check how the brake levers fit your hands, whether you can operate them confidently while keeping your eyes up, and how the bike behaves on the actual surface. Start slowly in a low-traffic area. Brake progressively rather than grabbing a lever, and allow extra distance on loose, wet, or unfamiliar pavement.
Do not assume a brake label alone determines downhill safety. Setup, adjustment, tire condition, rider technique, total load, and the steepness and length of the descent all change the outcome. Before a longer descent, inspect tires and controls and follow the maintenance instructions for the specific bike. HIEHA’s practical maintenance checklist is a useful general pre-ride reminder; for adjustment values and service intervals, rely on your model manual or a qualified technician.
Fit and traction make assistance usable
On a hill, a good fit helps you steer smoothly, place a foot down securely, and avoid putting too much weight on your hands. During a test ride, stand and sit, make a low-speed turn, stop on a gentle incline, and check that you can restart without feeling cramped. A bike that feels fine in a parking lot can feel unstable when your body position shifts on a climb.
Tire choice and inflation should follow the tire sidewall and bike documentation. Do not select a tire solely because it looks aggressive; choose for the surfaces you truly ride. Smooth pavement, broken pavement, gravel, and mixed paths each create different priorities. Before changing parts, confirm compatibility and keep local riding rules in mind.
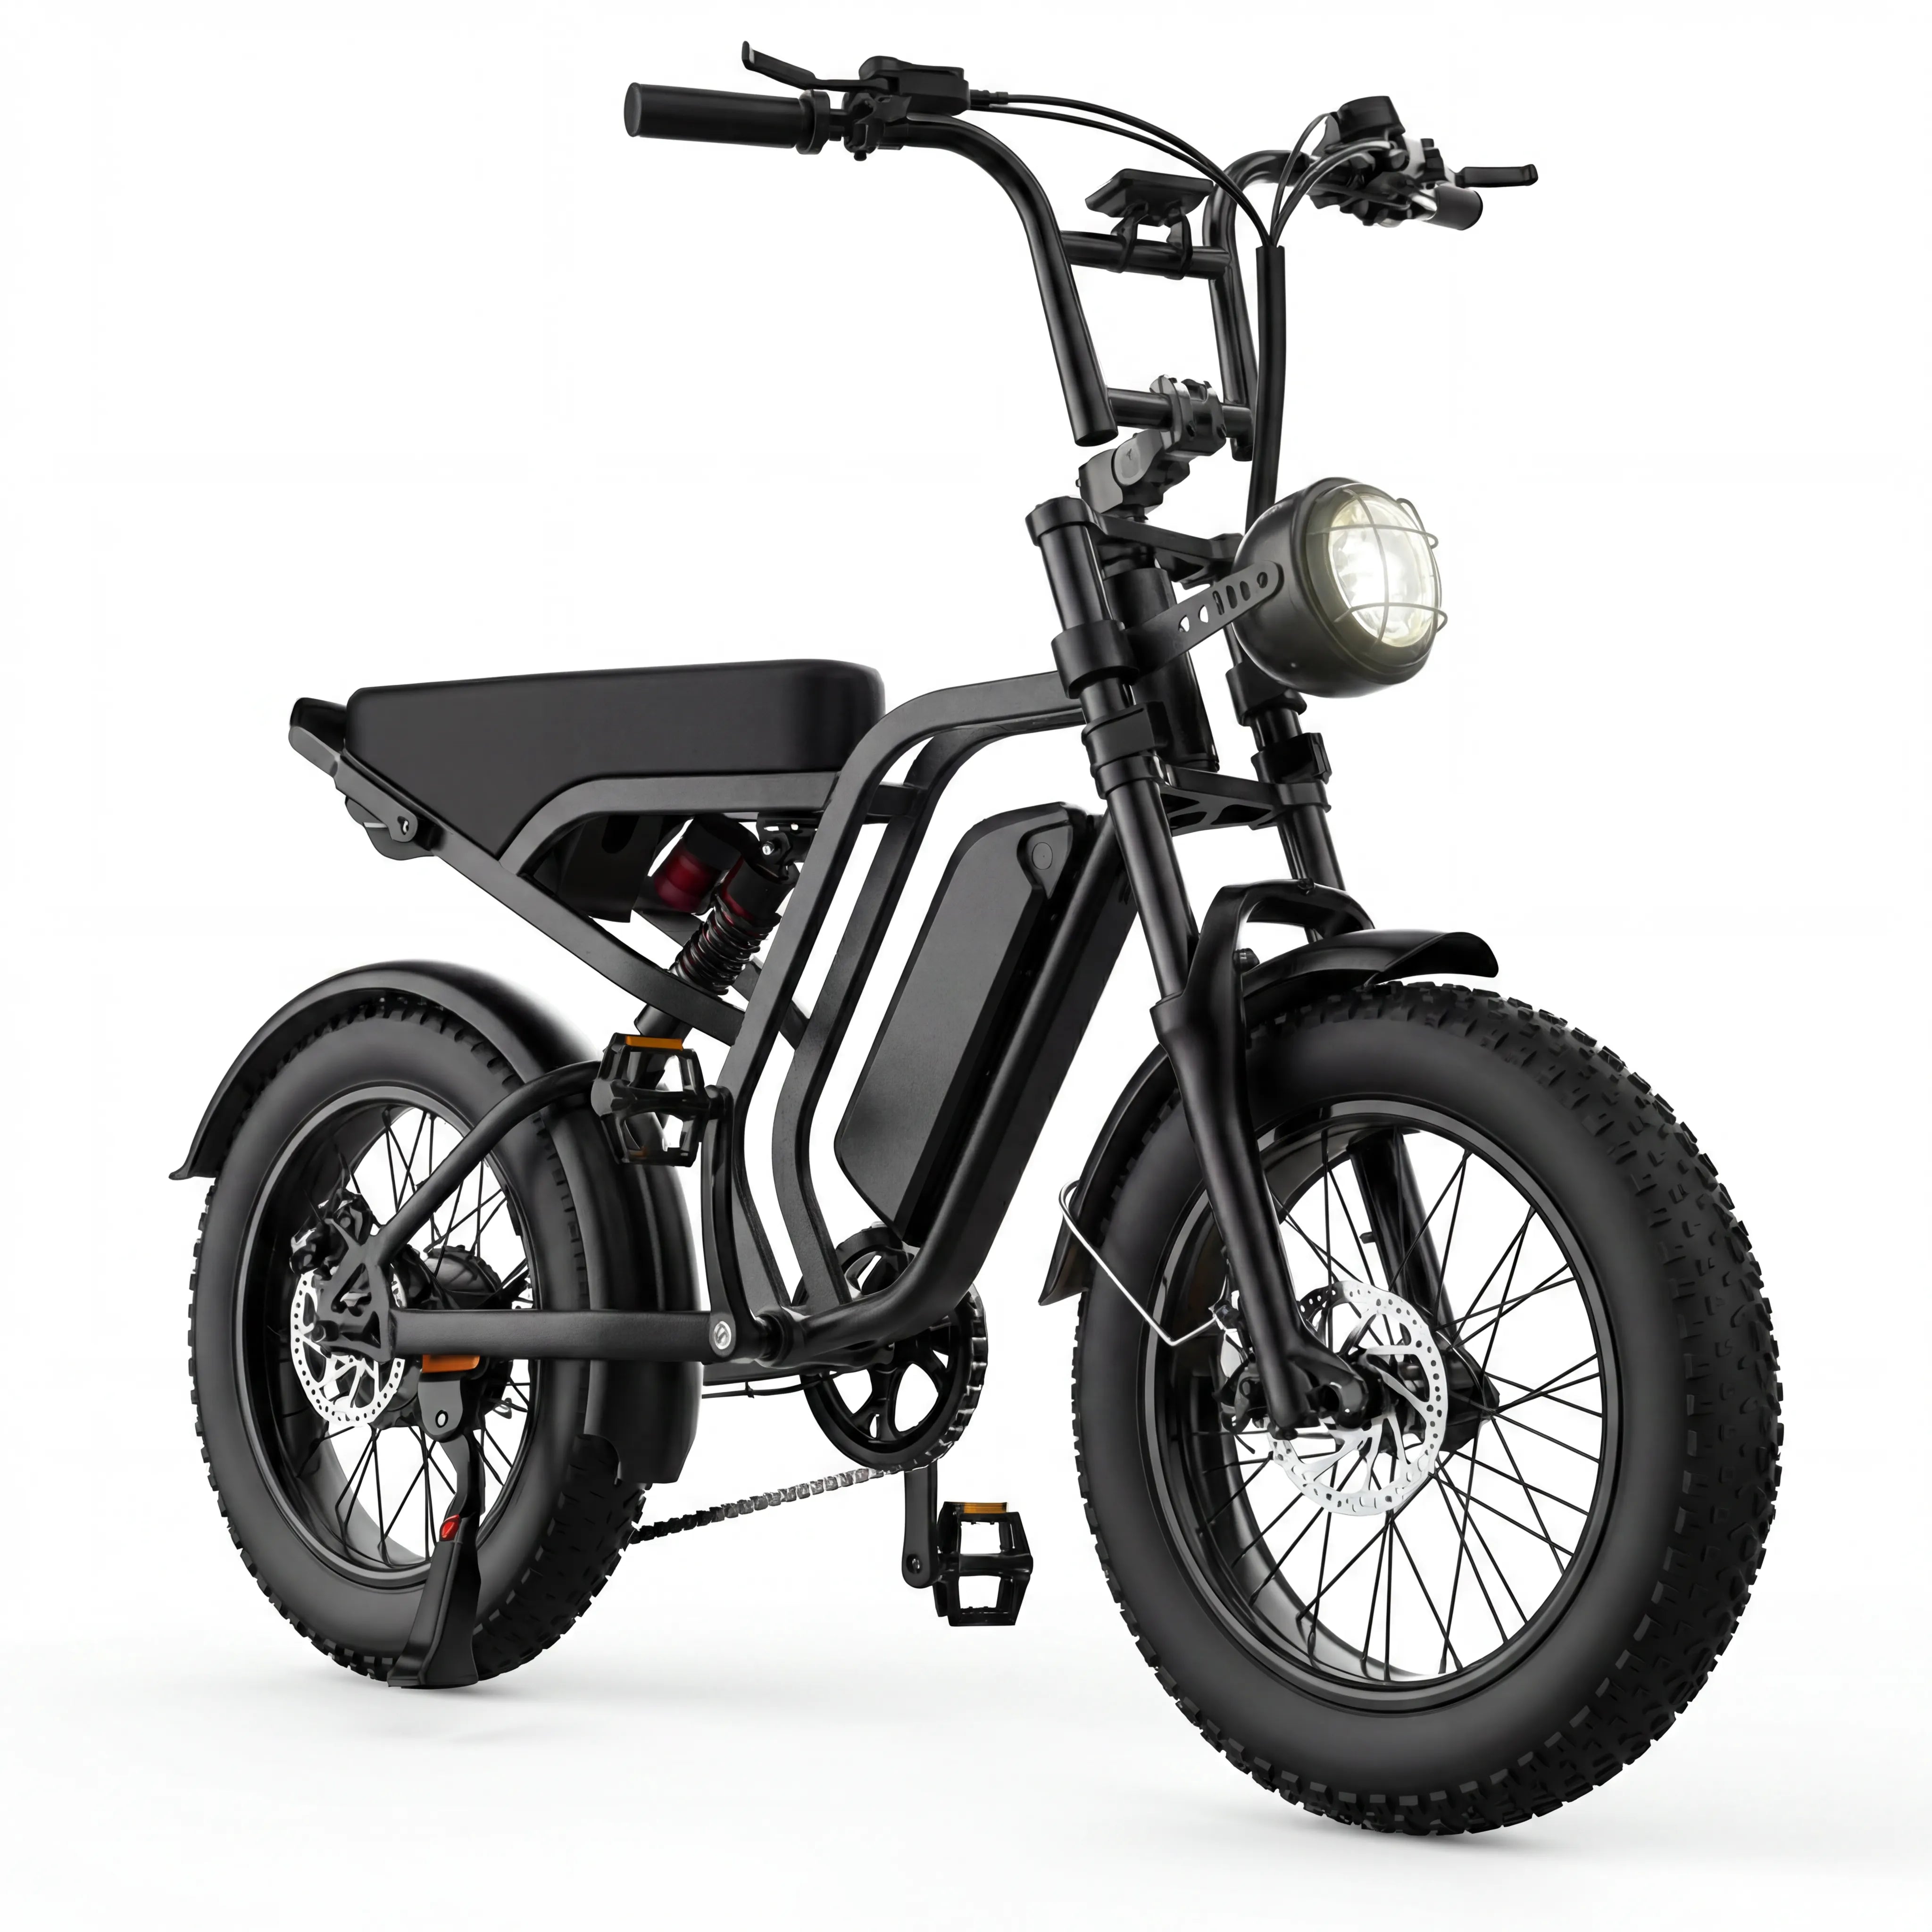
For a starting point, browse the current HIEHA e-bike collection and compare the listed details with your route notes. If a model appears suitable, review its current page directly—such as the HIEHA SU8 1.0 product page—and ask support to clarify any specification, fit, accessory, or service question that is not explicitly documented.
Use a repeatable hill test ride
A short, structured test gives you better evidence than browsing more tabs. Choose a safe route with a modest hill first. Ride it at a comfortable pace, try a controlled restart, then repeat using a different assist setting or gear. Notice whether you can operate the controls without looking down, whether your pedaling feels natural, and whether the descent leaves you relaxed enough to make careful decisions.
Then imagine your less-than-perfect day: a backpack, a headwind, a late departure, or a tired ride home. A suitable e-bike should leave room for those ordinary variables. If the bike only feels acceptable at an aggressive setting or under ideal conditions, it may not be the right match for your daily hill.
Compare like for like before you buy
Keep your comparison fair. Use the same route notes for every option, and separate confirmed specifications from assumptions. A product page may help you make a shortlist, but it cannot show how your body position, cargo, local traffic, or preferred cadence will feel on a specific climb. Ask for the owner documentation and inspect the exact bike or configuration you are considering. If a feature matters to your decision, get it confirmed in writing rather than inferring it from a photo or a review of a different version.
Bring your route checklist to a conversation with a dealer or support team. Useful questions include: Which documentation covers this exact model? What is the recommended way to use its controls on an incline? Which replacement parts are compatible? Where can I find the current safety, charging, and service instructions? A clear answer is valuable because it tells you where to return for accurate information after the sale. If an answer affects a safety decision, pause the comparison until you can verify it.
Also budget for the complete riding setup. A lock, lighting, weather-appropriate clothing, a way to carry cargo, and routine checks may shape the experience more than a small difference on a specification table. These are not optional extras for a regular hill commute; they are part of making the route repeatable. Keep the first rides conservative while you learn how the bike responds when climbing and descending with your normal load.
Make the decision with a short checklist
Choose the option that best matches the route you repeat, not the one with the most dramatic marketing shorthand. Confirm that the bike fits, its controls are clear, the gearing and assistance are manageable, the tires suit your surface, and you have a conservative charging plan. Verify exact specifications and local requirements before buying, especially when a claim would affect safety, legal use, or the ability to finish your ride.
With that route-first approach, hills become a practical comparison tool. They help you identify the features and habits that support a confident ride—up, down, and on every ordinary trip in between.
Share:
The Practical E-Bike Maintenance Checklist
How to Test Ride an E-Bike: A Practical Checklist