
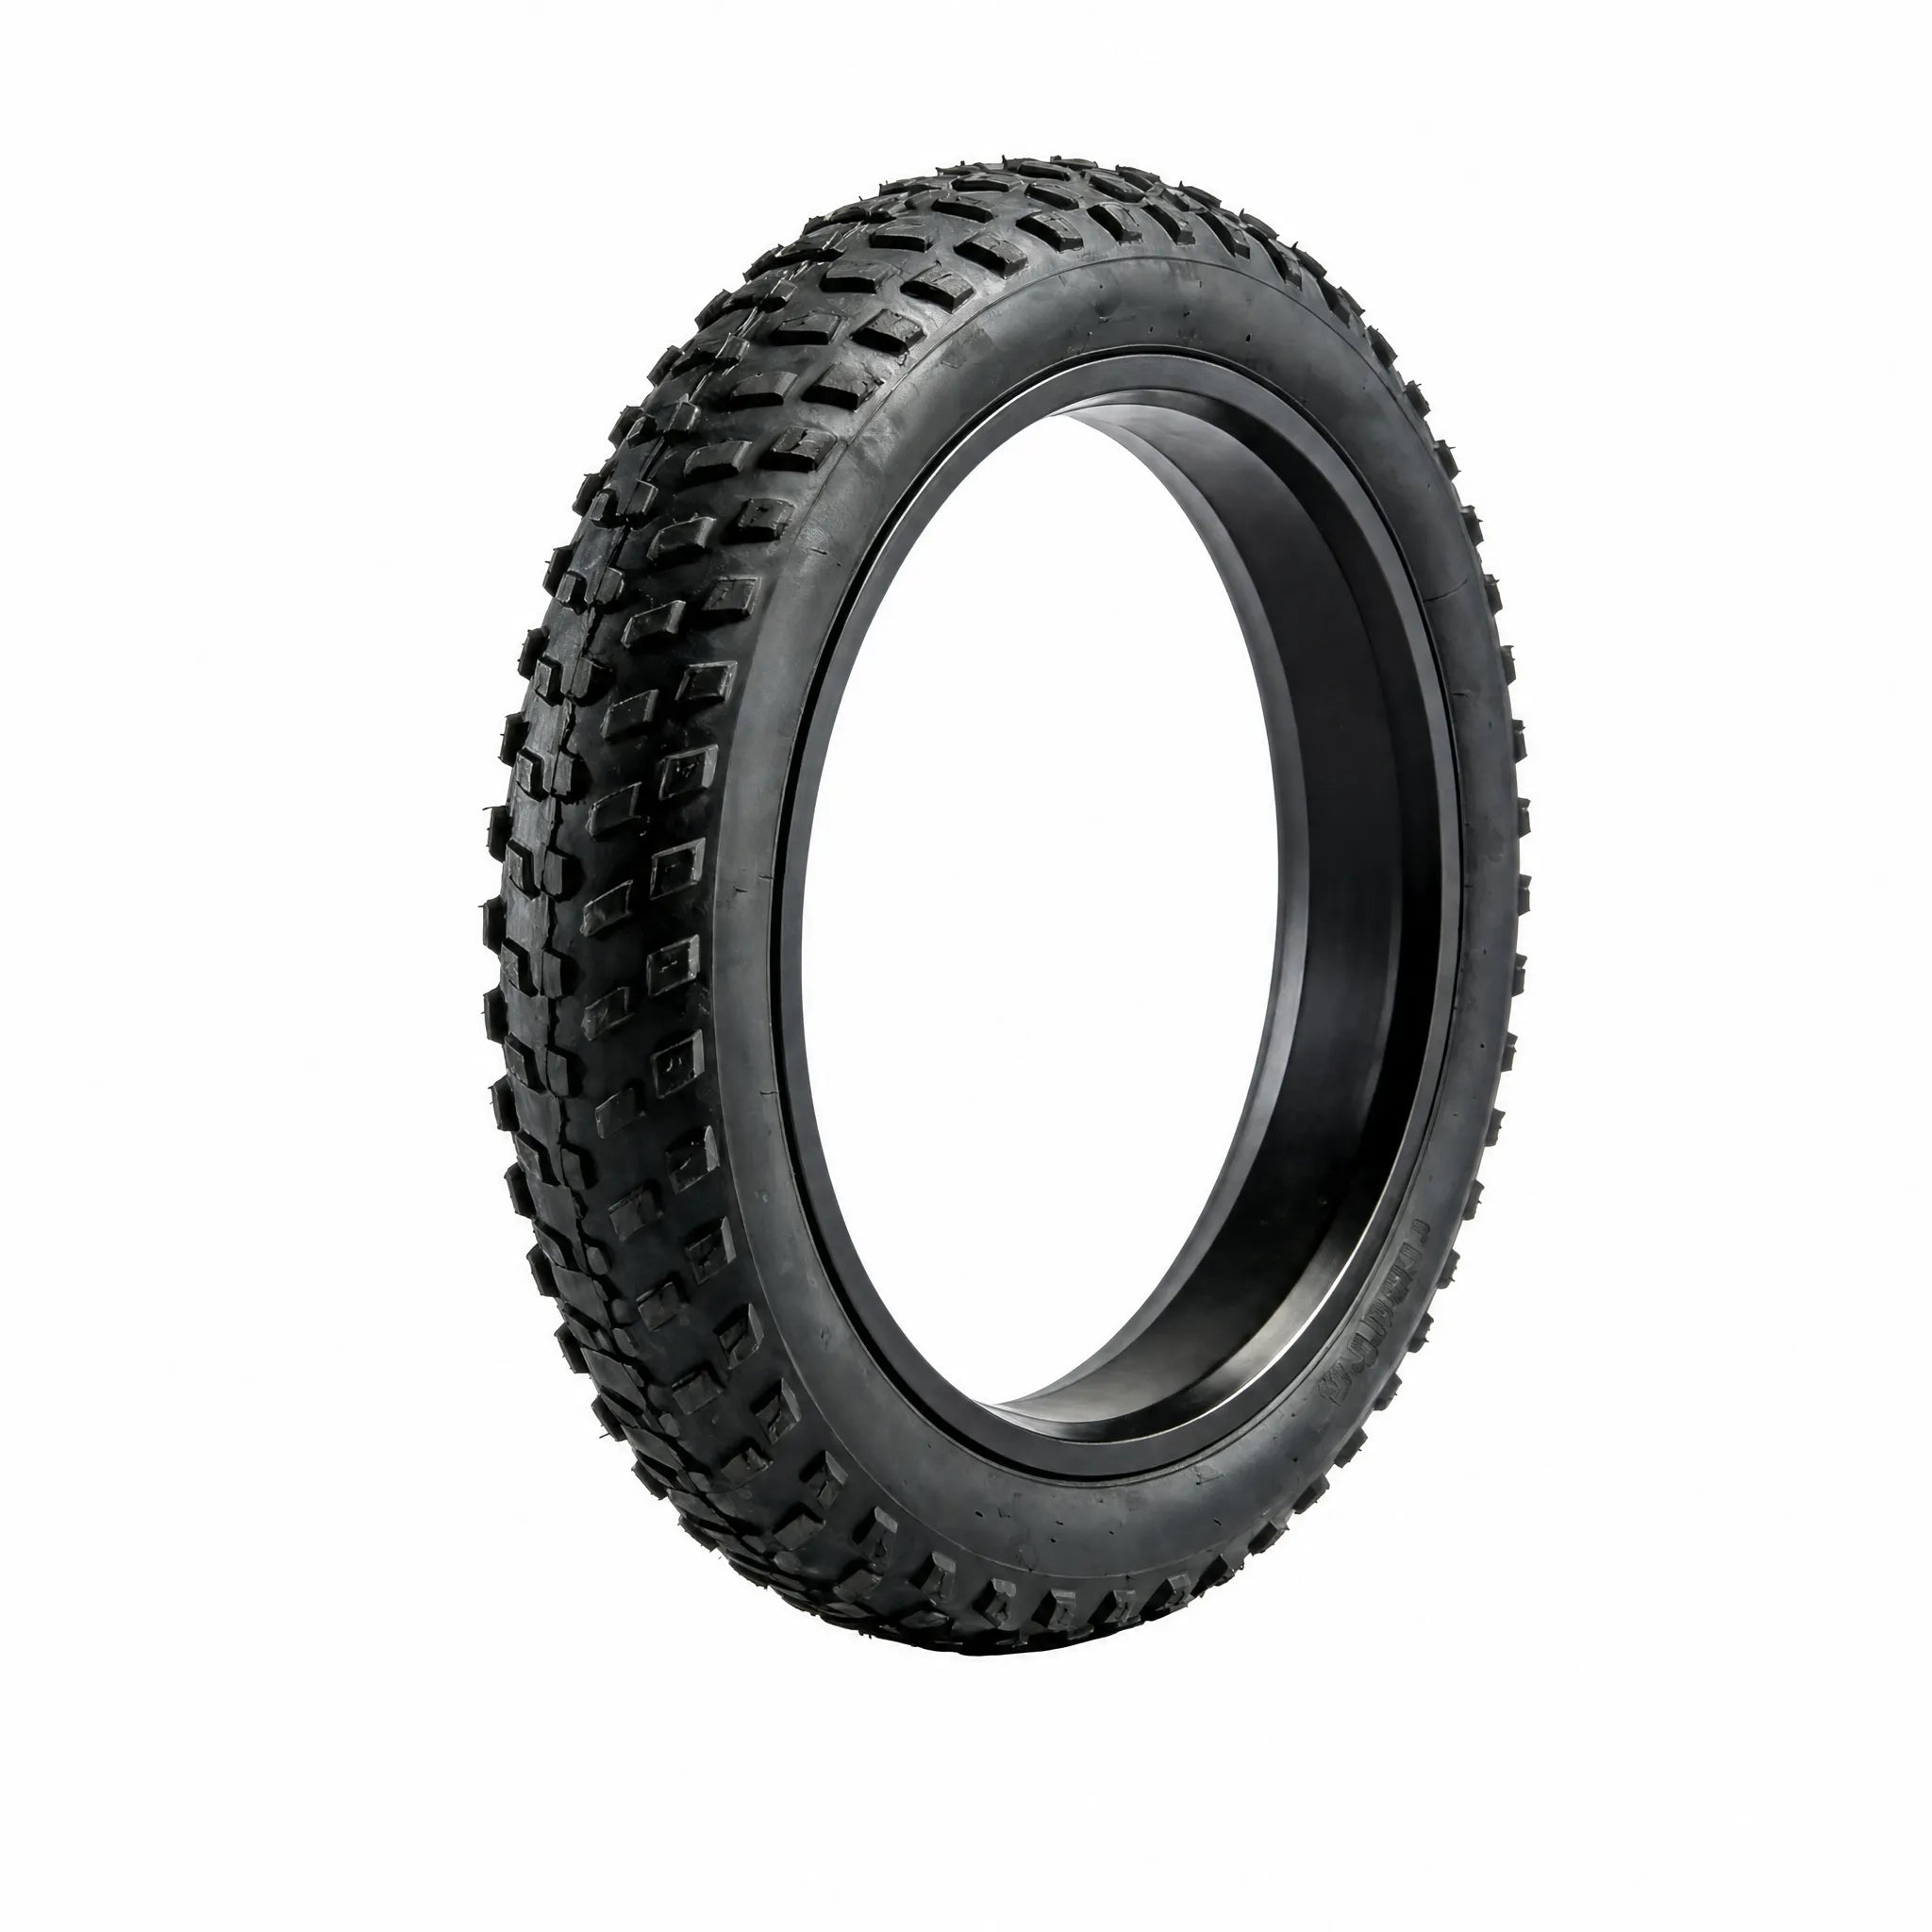
A flat tire can turn an ordinary e-bike ride into a stressful decision point. The useful response is rarely to rush through a repair at the curb. First make the location safe, then work out whether the tire is merely low, visibly damaged, or part of a larger wheel problem. Your goal is to protect yourself, avoid damaging the bike further, and choose a next step you can verify.
This checklist is deliberately conservative. It does not give a universal pressure, promise that every puncture can be repaired, or assume that a replacement part fits every e-bike. Tire, wheel, brake, motor, axle, and accessory arrangements vary. Use the documentation for your exact bike and stop if anything beyond the tire itself looks loose, bent, damaged, or unclear.
Make the location safe first
If the tire feels flat while you are moving, reduce speed gradually, keep both hands on the bars, and steer toward a place away from traffic or trail users. Avoid a sudden turn or an abrupt attempt to keep riding on a soft tire. Once stopped, move yourself and the bike to a stable, visible position if you can do so without stepping into a hazard.
Before touching the wheel, take stock of the setting. Is there room to work without blocking a path? Is it dark, raining, or close to moving vehicles? Do you have a charged phone and a realistic pickup option? A repair that is technically possible is not automatically the right choice on a narrow shoulder, after dark, or when you do not have the correct tools.
Use the current HIEHA e-bike collection only to identify the exact model you own; use that model’s current documentation for setup and service questions. A photo, a memory of another bike, or advice meant for a conventional bicycle may not describe your wheel, tire, or cable routing.
Separate low pressure from visible damage
Look before you inflate or disassemble anything. Check the tire for a foreign object, a cut, a split, a section that has come away from the rim, or a sidewall problem. Look at the rim and spokes from a short distance. If the wheel wobbles, the rim is bent, a spoke is broken, the brake rubs sharply, or the axle area looks damaged, do not treat this as a simple flat. Arrange transport or have a qualified technician inspect it.
If nothing obvious is wrong, compare the tire’s shape with the other wheel. A tire can lose air slowly, but you still need to find the cause before trusting it for a ride. Never rely on squeezing the tire alone to decide that it is ready. Follow the tire sidewall and your exact bike documentation for the approved inflation range and valve procedure.
| What you notice | Safer next step | What not to assume |
|---|---|---|
| Foreign object, cut, split, or exposed structure | Stop riding and assess repair or transport in a safe location. | That adding air will make the tire safe for the trip home. |
| Wheel wobble, bent rim, brake contact, or loose-looking axle area | Do not ride; arrange professional inspection or pickup. | That the problem is only the inner tube. |
| Low tire with no visible damage | Use the exact valve and inflation guidance, then recheck for an air loss. | That a tire which holds air briefly has no puncture. |
| Uncertain fit or replacement part | Confirm the exact model and compatibility before ordering or installing. | That matching diameter alone proves compatibility. |
Decide between a repair and a pickup
Choose the option that leaves the biggest safety margin, not the one that gets you moving fastest. A roadside repair may be reasonable when the bike is stable, the location is safe, you understand the procedure for your exact wheel, and you have the right tools and parts. A pickup, walk, or service visit is the better decision when visibility is poor, traffic is close, the wheel has other damage, or you are not sure how the bike should be reassembled.
E-bikes can have details that deserve extra caution: a heavy wheel, a hub motor cable, a brake rotor, or hardware that must return to the correct position. Do not pull on cables, force a part, or improvise with an unfamiliar fastener. If the job requires removing a wheel and the manual does not make the sequence clear, pause and ask a service professional for guidance.
For an at-home replacement, the HIEHA SU8 replacement tire product page is a current source to check before assuming a tire is compatible. Confirm your exact model, wheel and tire markings, and the current product information. If you need related, model-specific parts, start with the HIEHA E-bike Accessories collection and verify compatibility before purchase.
If you inflate, check it again
Inflation is a check, not proof that the problem is solved. Use an appropriate gauge and follow the stated tire and model guidance rather than copying a number from another rider. Watch whether the tire seats evenly around the rim and whether it begins to lose air again. Keep fingers away from the brake rotor and moving parts while turning the wheel by hand.
After any tire work, inspect the entire wheel area before riding: the tire should be seated evenly, the wheel should sit securely, and the brake should operate normally. Spin the wheel by hand only if you can do so safely, then perform a stationary brake check. If the wheel does not turn freely, the brake lever feels abnormal, a cable is pinched, or you are unsure about reassembly, stop and get help.
The broader practical e-bike maintenance checklist is useful for turning this one incident into a routine inspection habit. Tire condition, brakes, controls, and fasteners all deserve attention before a small issue becomes a ride-ending surprise.
Avoid the common shortcuts
It is tempting to ride slowly on a soft tire, especially when home is close. That can damage the tire or rim and can make handling unpredictable. It is also tempting to use a generic online video as a complete repair plan. Videos can be helpful for learning concepts, but they cannot confirm how your particular e-bike routes cables, secures the wheel, or specifies replacement parts.
Another shortcut is to choose a tire based only on appearance. Tire width, bead type, wheel dimensions, clearance, tube or tubeless setup, and model documentation can all matter. HIEHA’s fat tire versus regular tire guide explains the route and handling questions behind tire choice; it does not replace the compatibility information for the bike in front of you.
Finally, do not forget the trip plan. If flats repeatedly occur on your normal route, consider what needs investigation: debris-prone surfaces, worn tires, a rim or tube issue, installation quality, or a maintenance gap. HIEHA’s e-bike commute planning guide can help you think through a practical backup plan, including a safe place to stop and a way to contact someone if the bike cannot be ridden.
Build a small flat-tire plan before the next ride
You do not need to carry a full workshop. Start with the basics you know how to use: a charged phone, a way to identify your bike, the current manual, and an appropriate plan for getting home. If you carry tools or an inflator, practice at home first and make sure the equipment works with your valve and the bike’s requirements. Keep model-specific instructions accessible rather than depending on memory.
Before a longer ride, give each tire a quick visual inspection and confirm that the wheels and brakes look normal. If something changes suddenly—an unexplained loss of air, a new wobble, or a brake issue—treat that change as information, not an inconvenience to ignore. A calm stop, a factual inspection, and a verified next step are the best way to protect both the ride and the bike.
Share:
How to Choose an E-Bike for a Heavier Rider: Fit and Support Questions
E-Bike Pre-Ride Tire Check: A Simple Checklist