
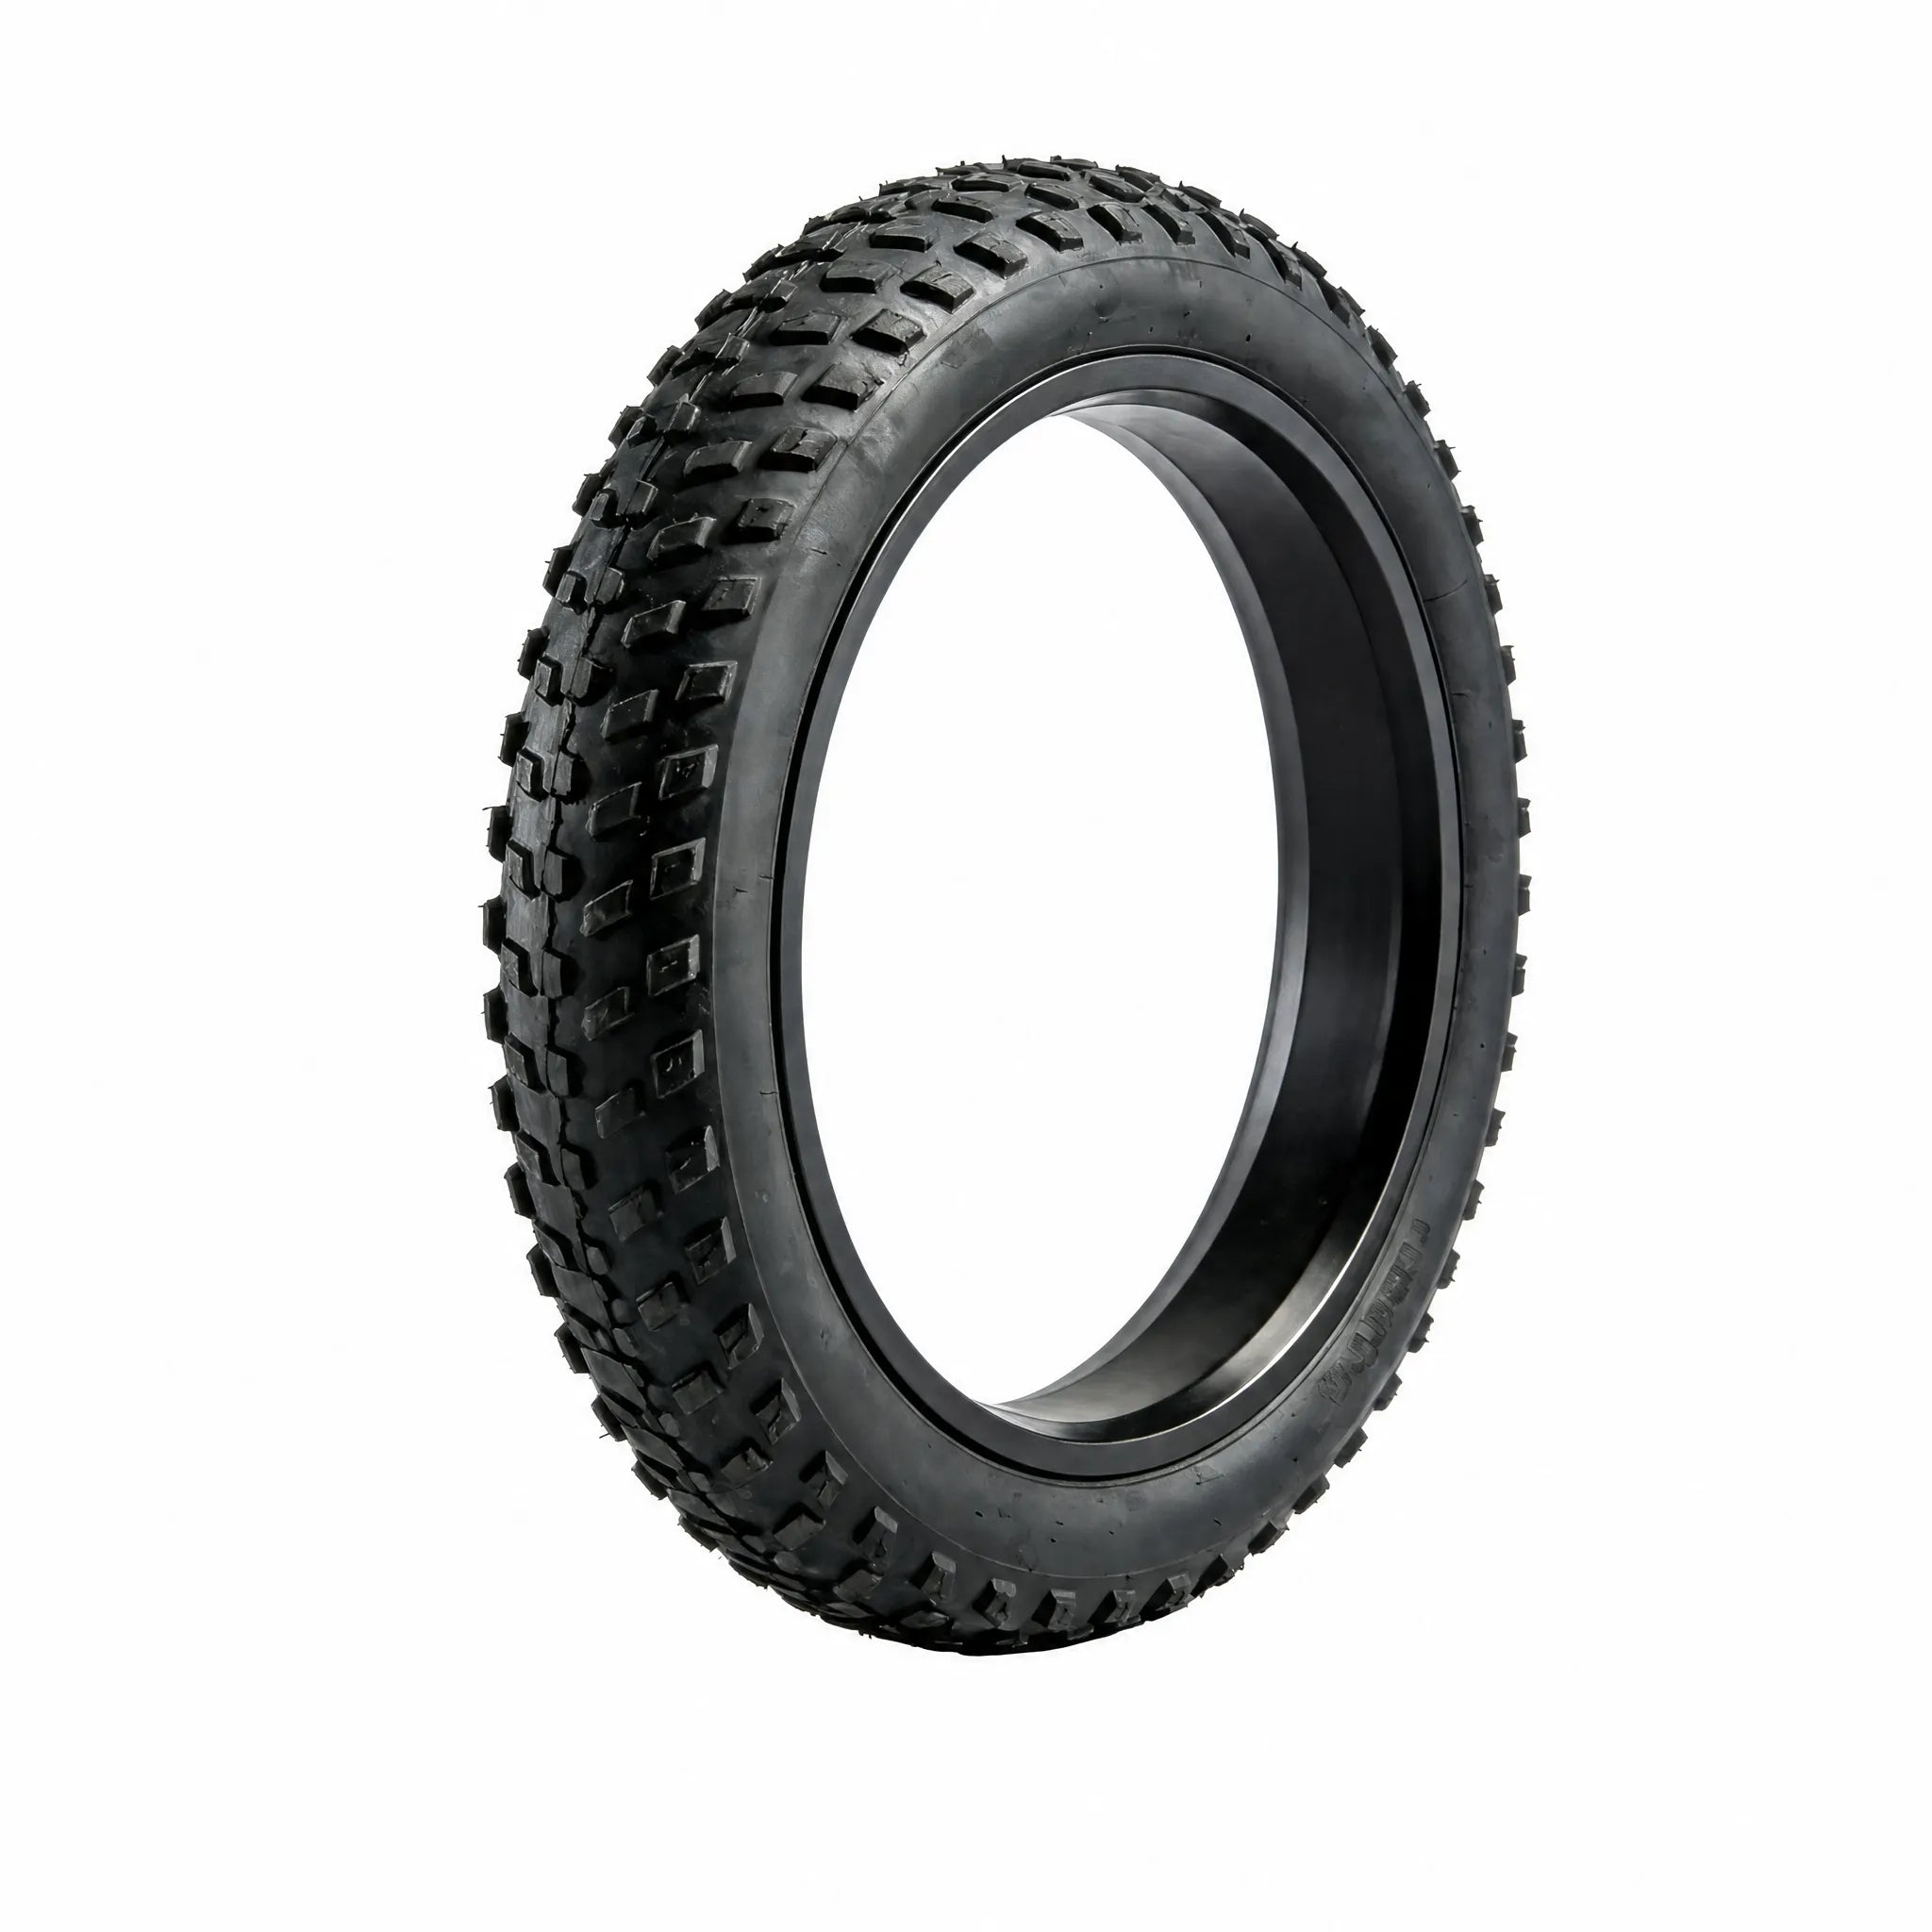
Quick answer: Before an e-bike ride, look at both tires, the wheel area, and the ground around the bike. If you see damage, a foreign object, a tire that will not hold air, a loose wheel, or anything that makes the bike feel abnormal, do not turn the check into a repair experiment—use the model instructions or qualified service guidance.
Why a short check is worth doing
A pre-ride tire check is not about becoming your own mechanic. It is a simple way to notice an obvious change while the bike is still at home, at work, or somewhere you can make a calm decision. Tires meet every bit of road debris, curb edge, wet surface, and rough pavement first. A small problem can become a much bigger interruption when it is discovered at speed, after dark, or far from a safe place to stop.
The useful habit is consistency. Check the same few things in the same order before a longer ride, a commute, or any trip where being delayed would be difficult. You are not trying to diagnose every sound or predict every failure. You are looking for changes that are visible, repeatable, and worth addressing before you leave.
Start with the ground and the tire shape
Walk toward the bike and look at the ground beneath both wheels. A fresh wet spot, a loose valve cap, debris near the tire, or an object stuck in the tread gives you a reason to slow down and inspect. Then look at each tire from the side. Compare its shape with what you normally see when the bike is ready to ride. One side sitting noticeably lower than the other, a tire that looks wrinkled near the rim, or a tire that changes shape while the bike is stationary is a stop sign rather than a detail to ignore.
A visual check does not prove that a tire is ready for every route, and it cannot set the correct pressure. Use the tire and bicycle documentation for the approved setup for your specific model and tire. Avoid inventing a number from another bike, a forum post, or a tire that happens to look similar. The goal here is to catch an obvious difference from your normal, documented setup.
Scan the tread and sidewalls
Rotate each wheel slowly enough to look across the tread and both visible sidewalls. Remove only loose surface debris when it can be done safely and without digging into the tire. If you find a nail, screw, glass, deep cut, bulge, exposed material, or a crack that concerns you, do not assume the tire will be fine for one more ride. Mark what you found, keep the bike out of service, and use appropriate repair or service help.
Pay attention to a sudden change, not just a tire that looks used. Some dirt or normal surface wear may be expected after riding. What matters is whether the tire now looks different from the condition you trusted yesterday: a new object in the tread, a new split near the sidewall, or a section that no longer sits evenly on the rim. A calm photo can be useful when asking a shop or support team what to do next.
Look at the rim and wheel area
With the bike steady, look where the tire meets the rim. The tire should appear evenly seated around the wheel rather than pushed up in one place or tucked unusually low in another. Look for obvious dents, cracks, loose pieces, or contact between the tire and something that should not touch it. Check that the wheel area is clear of a bag strap, cable, lock, or other item that could interfere once the bike starts moving.
Do not use this guide as a wheel-removal or adjustment procedure. Axle hardware, brake components, and wheel retention are safety-critical and can differ by model. If a wheel seems loose, off-center, or difficult to turn normally, stop there. Consult the current instructions for your bike or arrange qualified service instead of tightening parts by guesswork.
Do a gentle roll check
Move the bike a short distance in a clear area while walking beside it. Listen for a new rubbing, clicking, or scraping noise, and notice whether one wheel feels reluctant to roll. This is not a substitute for a ride test; it is a low-risk chance to decide whether the bike feels normal before you add speed, traffic, cargo, or a destination deadline.
If the tire has recently been serviced, replaced, or transported, give this step extra attention. A change in the wheel area can be harmless, but it can also be a reason to re-check the work before riding. When the bike does not feel familiar, choose caution. A short delay at home is usually easier to manage than an improvised roadside decision.
Separate a preventive check from a roadside plan
A pre-ride inspection reduces surprises; it does not guarantee that a puncture or tire issue will never happen. Keep a separate plan for a problem that occurs away from home. That plan might include a phone, a way to secure the bike, a route with safe stopping options, and a pickup contact. The right response depends on location, weather, traffic, your experience, and the actual condition of the wheel.
If a tire problem appears during a ride, use this calm e-bike flat-tire roadside checklist to decide whether to stop, inspect from a safe location, arrange help, or leave the bike secured. Preventive and roadside guidance work together, but they answer different moments: one is before you leave, and the other is after something changes.
Build the check into your routine
The best pre-ride check is short enough that you will actually use it. Keep it near the action you already take: unlocking the bike, putting on a helmet, checking lights, or loading a bag. On a normal day, the whole process can be a quick look at the ground, tire shape, tread, rim area, and a brief roll. On a day when something looks different, the routine gives you permission to pause instead of rationalizing the change.
It also helps to connect the tire check with your wider ownership routine. The practical e-bike maintenance checklist can help you organize periodic checks, while a regular rider can use the e-bike commute planning guide to think through route, arrival, and backup options. None of those pages replaces your bike’s current documentation, but together they help turn a vague “it seems fine” into a repeatable habit.
Know when not to ride
Do not ride just to test a problem that is already clear. A tire that is damaged, visibly underinflated, unable to stay inflated, badly seated, or carrying a foreign object may need more than a quick adjustment. The same is true if the wheel is loose, the rim is visibly damaged, or the bike behaves differently while you roll it. Stop, secure the bike, and get model-appropriate guidance.
There is no prize for solving every issue alone. A product page can help you identify the current HIEHA SU8 replacement tire, but fit, compatibility, pressure, and installation questions belong with the current product information and qualified support. For broader browsing, the HIEHA e-bike accessories collection and the HIEHA e-bike collection are useful places to confirm what is currently offered.
A simple pre-ride checklist
| Check | What you are looking for | Safe next step |
|---|---|---|
| Ground | New debris, moisture, or an object near a wheel | Inspect before moving the bike |
| Tire shape | An obvious difference from your normal documented setup | Pause and verify with model guidance |
| Tread and sidewall | Foreign object, cut, bulge, exposed material, or concerning crack | Do not ride until the issue is assessed |
| Rim and wheel area | Uneven seating, visible damage, loose wheel, or interference | Seek model-appropriate service guidance |
| Gentle roll | New rubbing, scraping, clicking, or resistance | Stop before a full ride and investigate safely |
The bottom line
A good e-bike pre-ride tire check is brief, visual, and conservative. Look for an obvious change, compare it with the normal condition you know, and stop when something does not look or feel right. Use the bike’s current documentation for model-specific settings and service steps. That small routine can make your next ride more predictable without pretending that a general checklist can answer every mechanical question.
For a new-to-you bike, pair this observation with an e-bike owner’s manual first-day checklist to locate the model-specific inspection, tire, and safety instructions before making assumptions.
A tire check works best as part of a calm departure routine; use this e-bike helmet-fit checklist to confirm your bicycle helmet is positioned and secured before you ride.
Share:
E-Bike Flat Tire: A Calm Roadside Checklist
E-Bike Brake Check Before Riding: A Simple Routine