
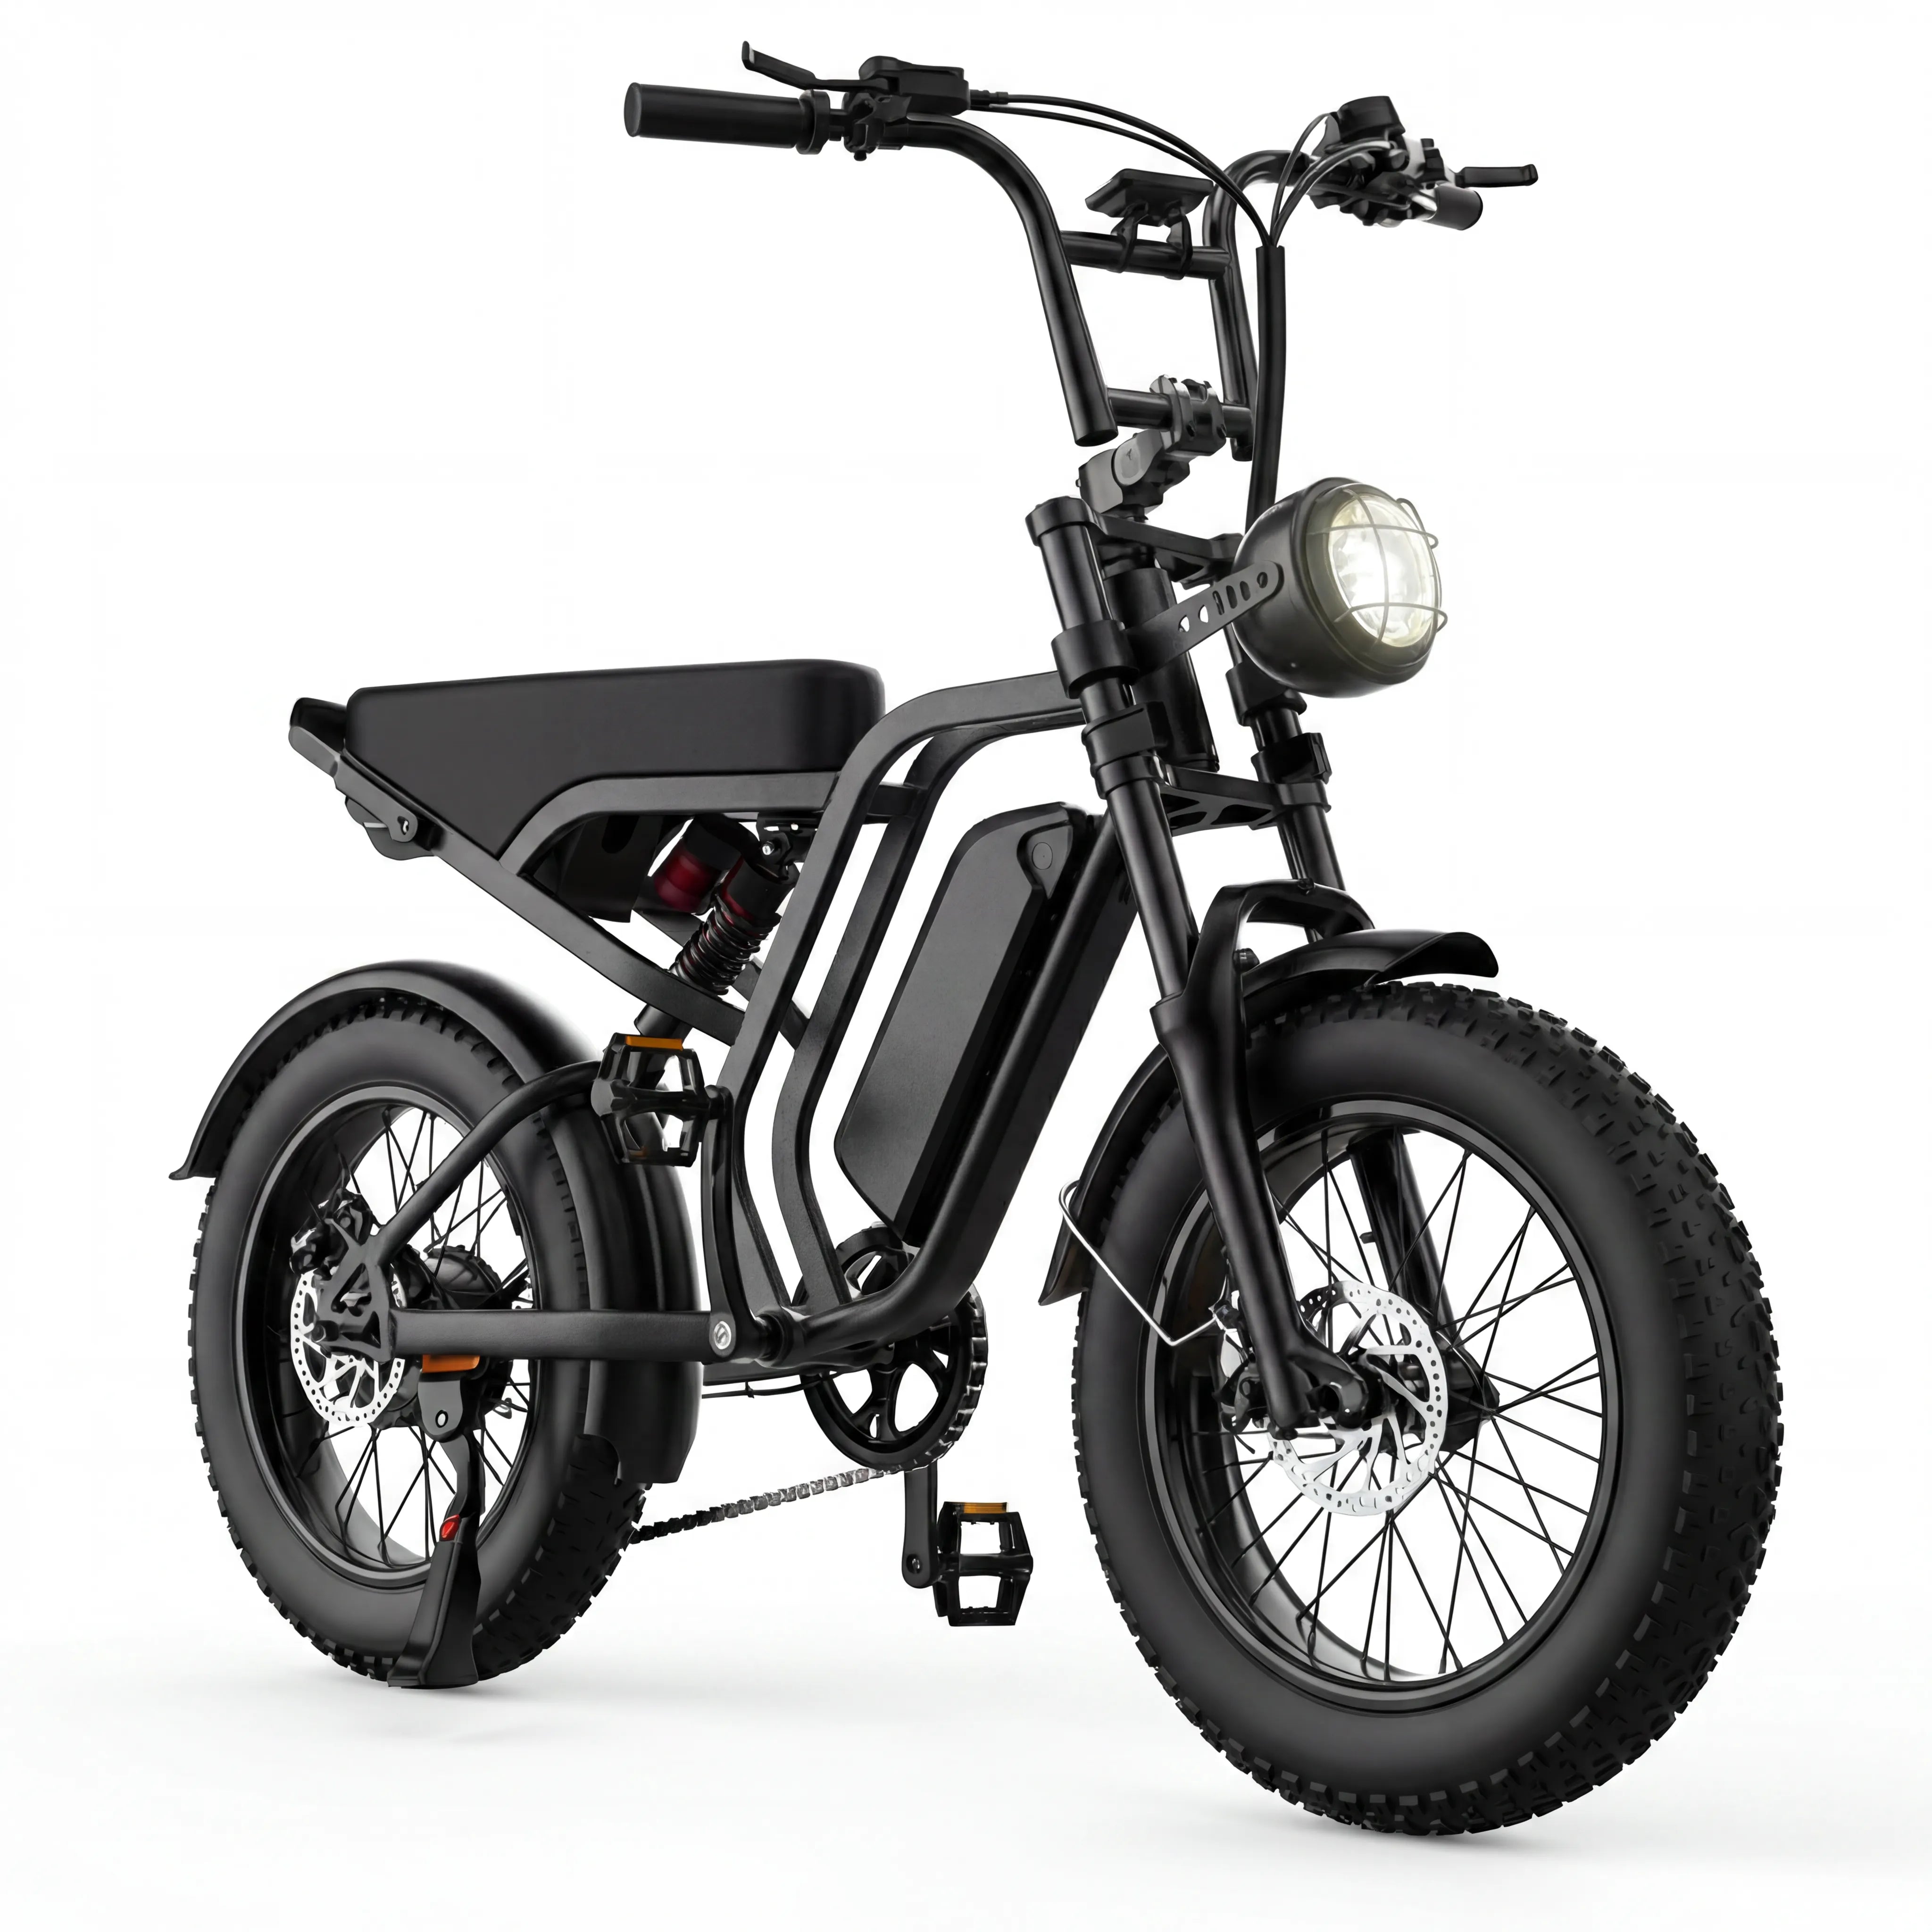
A quick e-bike brake check before riding is not a repair procedure or a substitute for model documentation. It is a short pause that helps you notice an obvious change before you build speed. Look for a change in how a lever feels, whether a wheel moves freely when it should, and whether the bike behaves differently in a controlled test. If something seems wrong, do not try to “ride it out.” Pause the trip and use qualified service or the instructions for your exact bike.
Start with a calm, stationary look
Park on level ground, switch the bike off if that makes the check easier, and give yourself enough room to move around it. Start with the simple things: is anything visibly loose, bent, damaged, or rubbing where it did not before? Look at the brake levers, the area around the wheels, and any visible cable or hose routing without pulling, bending, or adjusting components. A new scrape, loose-looking fastener, frayed cable, leak, or wheel that does not sit normally is a reason to stop and consult qualified service.
Do not use this moment to diagnose the whole brake system. The goal is only to compare today’s bike with the bike you know. A familiar routine makes a change easier to notice. Add this glance to the broader e-bike maintenance checklist, which covers the other visible areas worth reviewing before small concerns become harder to spot.
Check lever feel without forcing anything
With the bike still stationary, gently operate one brake lever at a time. Pay attention to whether each lever feels materially different from your usual experience. A lever that comes unusually close to the grip, feels unexpectedly soft, sticks, or does not return normally deserves attention. Do not repeatedly pump a lever in hopes that the feeling will disappear, and do not attempt an adjustment unless the current documentation for your exact bike tells you to do so and you are qualified to perform it.
“Different” is the useful word here. Lever travel and feel can vary among bikes and brake systems, so a general article cannot set a universal measurement. Your own normal baseline, the model documentation, and a qualified technician are better references than internet guesses. If a change is obvious, postpone the ride rather than counting on a short route or low speed to make it harmless.
Make sure each wheel can move normally
Lift only as much of the bike as you can handle safely, or use a stable method recommended for the bike. Turn each wheel by hand and listen for a new, persistent scrape or drag. A sound alone does not explain the cause: road debris, a shifted part, or a component issue can all need different handling. The point is to notice a meaningful change, not to identify it yourself.
Also look for obvious side-to-side wheel movement or a wheel that appears out of place. Avoid putting fingers near moving parts. If a wheel will not turn normally, rubs constantly, or seems loose, do not take a test ride. The same approach applies when your regular pre-ride tire check reveals a tire or wheel-area change: stop first, then resolve the issue with the right help.
Use a low-speed, controlled test only when the stationary check is normal
If the bike looks normal and both levers feel familiar, choose a traffic-free, level space with plenty of room. Begin at walking pace. Test one brake at a time with a light, deliberate squeeze, keeping both hands on the bars and remaining ready to put a foot down. Then repeat at a similarly low speed with the other brake. This is an observation, not a stopping-distance test and not an invitation to test a problem at higher speed.
Stop immediately if the response feels unfamiliar, the bike pulls unexpectedly, a lever behaves oddly, a new noise persists, or you simply do not feel confident. Do not continue because the bike stopped once. Conditions, load, surface, tire condition, weather, and rider inputs all affect how a bike feels. A controlled pause is the right outcome when there is doubt.
Know when the ride should wait
It is sensible to delay the ride and seek qualified help when you notice visible damage, a loose-looking part, a persistent rub, a lever that behaves differently, an unexpected response in a controlled test, or any issue you cannot explain safely. This is especially important before a longer trip, a route with traffic, hills, passengers, cargo, or unfamiliar conditions. Planning around a delay is easier than trying to solve a safety concern after leaving home.
For a commute, build the check into the departure routine rather than doing it while rushed. The route-planning steps in this everyday e-bike commute guide can help leave time for a small inspection and a backup travel plan. If your ride is for evaluating a possible purchase, use a seller-approved, controlled test setting and the broader questions in the e-bike test-ride checklist instead of treating a quick spin as proof that every system is ready.
Keep model-specific information close by
Brake configurations, service steps, and compatibility details are model-specific. Use the documentation supplied with the exact bike and contact the manufacturer or a qualified e-bike service provider when it calls for inspection or service. Avoid substituting parts, applying a generic adjustment video, or making performance assumptions based on a photo or another model. A careful check is useful precisely because it tells you when not to improvise.
When you are comparing a new ride, the current HIEHA e-bike collection is the appropriate place to review the available product pages and documentation for the model you are considering. Current product information should guide model-specific questions; this article remains a general before-riding routine.
Make the check easy to repeat
Put the routine where it fits naturally: after unlocking the bike, before loading a bag, or while a passenger gets ready. Consistency matters more than making the check long. Some riders keep a small note in their phone with the few observations that matter to them, such as a new sound, an unfamiliar lever feel, or when qualified service was last arranged. That record is not a substitute for diagnosis, but it can make a recurring change easier to describe accurately.
Weather and storage conditions can also change what you notice on a given day. Do not assume that a damp surface, a hurried departure, or a familiar route makes a difference irrelevant. Give yourself room to postpone a ride whenever the bike feels unlike its normal self. If a concern follows the bike from one ride to the next, do not keep retesting it; arrange the model-appropriate inspection instead.
A one-minute habit worth keeping
A useful e-bike brake check before riding is brief: look for an obvious change, compare lever feel with your normal baseline, make sure the wheels move normally, and use a calm low-speed test only when the stationary check is reassuring. The moment something is unfamiliar, pause. That decision protects the rest of the trip and leaves the diagnosis to the documentation and people equipped to do it safely.
For a dusk or night ride, pair the normal control observation with this low-light e-bike checklist to check visibility, route conditions, and your plan before moving.
Alongside the brake observation, this e-bike chain care checklist helps you notice drivetrain noise, rust, or shifting changes before you ride.
Before a first regular ride or when a control question comes up, keep the model-specific instructions close with this e-bike owner’s manual first-day checklist so the manual remains the source for your bike’s controls and safety information.
Share:
E-Bike Pre-Ride Tire Check: A Simple Checklist
E-Bike Locking Checklist: How to Secure Your Bike at a Stop