
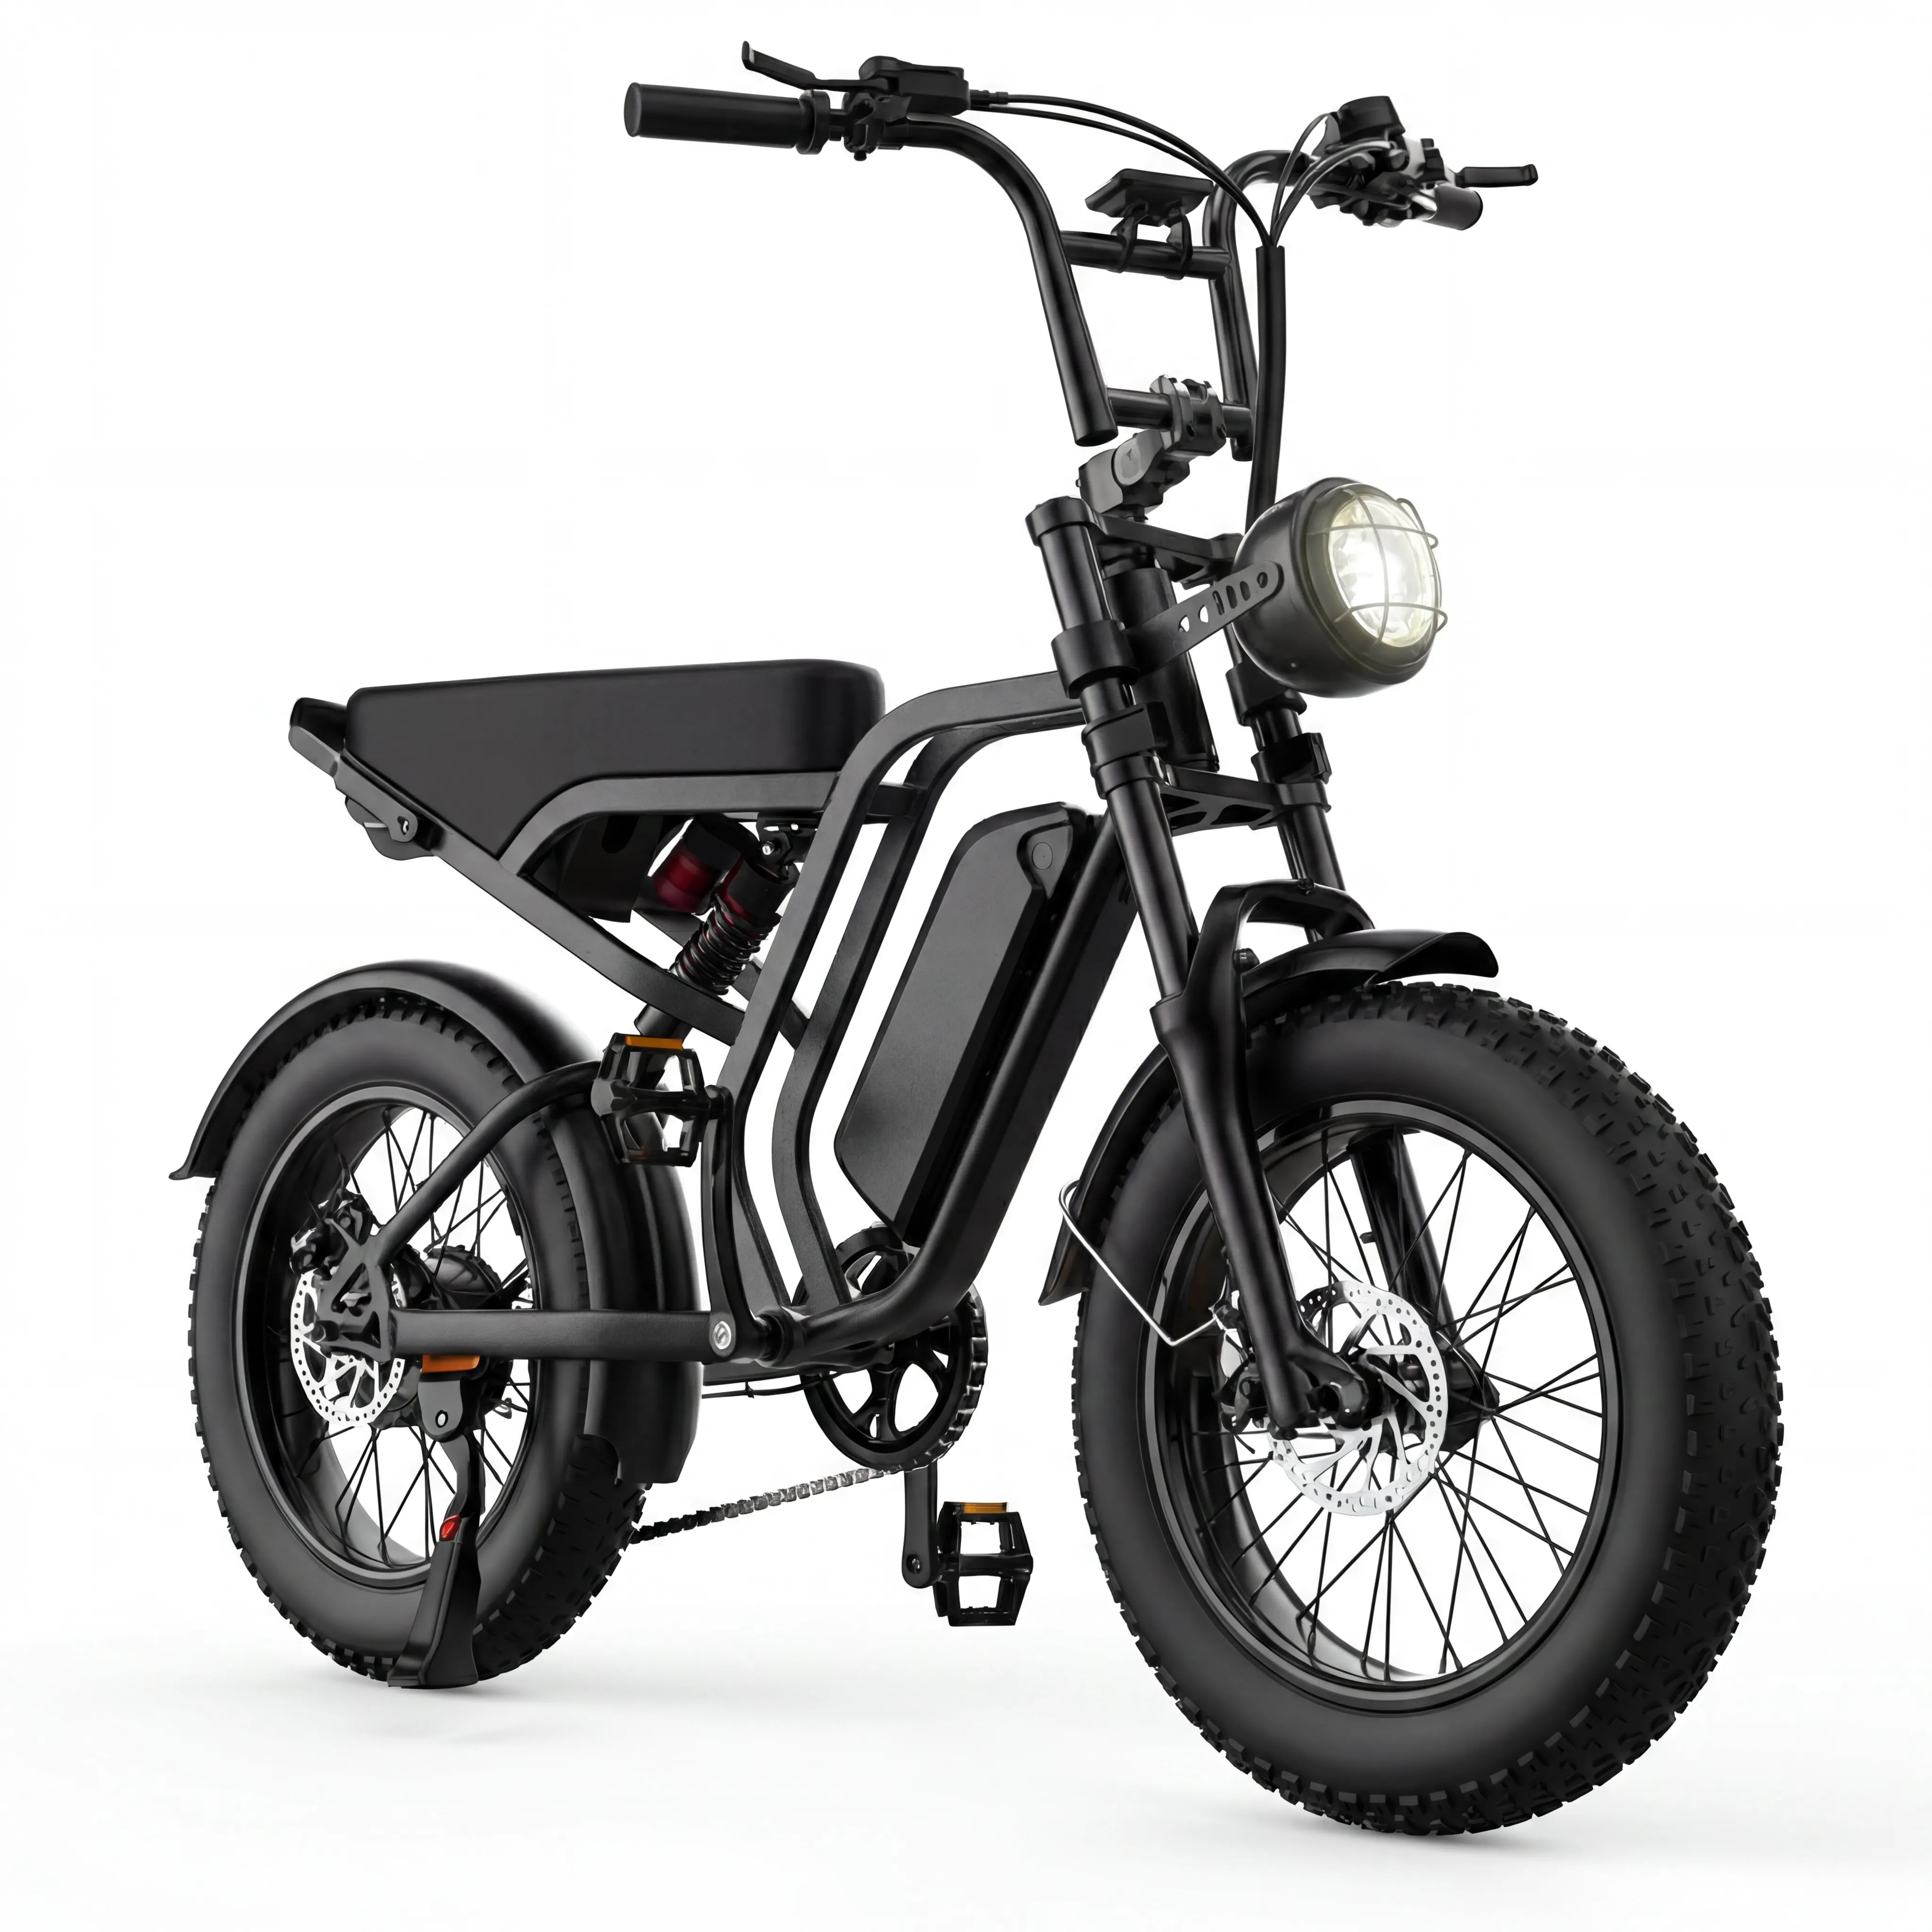
A saddle that feels too low, too high, or unexpectedly loose can make an ordinary e-bike ride distracting. The useful goal is not to copy another rider’s exact position. It is to set up a comfortable starting point, make small changes one at a time, and confirm that the seat and its clamp are secure before you ride. That approach is especially helpful on an e-bike, where the ride may include starts, stops, traffic, hills, and more time in the saddle than a short neighborhood loop.
This is a model-neutral checklist, not a substitute for the current manual for your bike. Seat-post styles, clamps, rails, suspension components, and adjustment instructions vary. If a part is damaged, seized, missing, or does not hold its position, stop the adjustment and seek qualified help. For broader ownership checks, pair this fit routine with the practical e-bike maintenance checklist so comfort and condition are considered together.
Start with a stable place and the right question
Choose level ground with room to stand beside the bike. Turn the bike off before you adjust anything, keep it steady, and avoid leaning it where it can roll or fall. Wear the shoes you normally ride in if possible. A setup that feels fine in slippers or thick work boots may feel different with your everyday riding footwear. Have the owner documentation nearby when you can, because it is the right source for the clamp style, approved tools, and any model-specific instructions.
Before moving the saddle, name the feeling you are trying to change. Do you feel cramped at the top of the pedal stroke? Are you reaching too much at the bottom? Are starts and stops awkward? A clear question helps you make a modest adjustment instead of changing height, fore-and-aft position, and tilt all at once. If you are evaluating a bike or identifying the version you own, the HIEHA e-bike collection is a useful place to find the current product information that belongs with that model.
Respect the seat-post insertion mark
Look at the portion of the seat post that enters the frame. Many adjustable posts have a permanent mark or ring that indicates the minimum amount that must remain inserted. Do not raise the post beyond that mark. This is a simple but important boundary: height should be chosen within the adjustment range intended for the bicycle, not by extending the post until it merely feels tall enough. If you cannot locate the mark, cannot read it, or are unsure whether a post has been replaced, use the current manual or ask a qualified bicycle technician before changing the height.
Also inspect the area around the clamp. Dirt, damage, a cracked collar, an unfamiliar spacer, or a post that has already slipped are reasons to pause rather than force the adjustment. Do not guess at a tightening value, use an improvised lever, or add materials to make a loose part fit. Those details depend on the specific hardware. A generic checklist can help you notice a question; the manufacturer’s instructions or qualified service should answer it.
Find a conservative starting height
With the saddle clamped within its allowed range, sit on the bike while a helper steadies it if needed. Put one pedal near the bottom of its circle and notice whether your leg has a comfortable, natural bend rather than feeling folded tightly or forced straight. Then bring the other pedal down and compare. You are looking for a starting position that lets you pedal smoothly while keeping the bike easy to manage during the kind of riding you actually do.
Do not treat this as a contest for the highest or lowest setting. A rider who makes frequent stops may prefer a different compromise from a rider on a longer open route. Frame shape, footwear, flexibility, cargo, terrain, and confidence all matter. Make a small change, re-check the position, and stop when the next change would become guesswork. If comfort concerns continue or you experience pain, consult an appropriate professional rather than trying to solve it through repeated trial on public roads.
Check reach, controls, and clear movement
Height is only one part of rider fit. With the saddle set, sit in your ordinary riding posture and check that you can reach the handlebar controls without straining or twisting yourself into an unfamiliar position. You should be able to operate the controls you need for a safe start and stop. Do not move the saddle forward or backward simply to compensate for a handlebar, stem, or control question; those parts may have their own instructions and limits.
A short, calm assessment is more useful than a dramatic test. The e-bike test-ride checklist can help you plan a low-pressure first ride after any setup change. It is a separate guide because fit, braking, traffic awareness, and familiarization deserve attention without rushing them together.
Secure the clamp and re-check the saddle
Once you have selected a height, secure the adjustment using the bike’s current instructions. Then look from the side and behind the bike: is the saddle centered as intended, and has its angle changed unexpectedly? Gently check for obvious movement without using your body weight to test a part beyond its normal use. A saddle or post that shifts, makes an unfamiliar sound, or will not stay in position is not something to overlook because the adjustment seemed small.
Take a moment to make sure no tool, key, or loose item is left around the frame. If you adjusted the bike before a commute, give yourself time for this check rather than doing it at the curb. The e-bike commute planning guide offers a broader way to build preparation time into a routine trip, including a chance to address a concern before the route begins.
Use a quiet first ride to evaluate the change
Choose a familiar, low-stress area for the first few minutes after an adjustment. Start gently, pedal smoothly, and pay attention to whether the bike feels controlled during ordinary slowing and stopping. If the setup feels clearly wrong, return to a safe place and make one small correction, or stop and get help if the issue is not obvious. Avoid trying to judge a new position while navigating busy traffic, steep terrain, or a long trip.
Before heading out, include the separate before-riding brake check in your routine. Saddle height does not replace a condition check, and a smooth fit adjustment should not distract from controls that need attention. If the bike feels different after a change, reduce the question to one safe observation at a time.
When to leave the adjustment to a professional
Stop and seek qualified service if the seat post cannot be moved normally, the clamp does not secure the post, the saddle rails appear damaged, the frame area is cracked or distorted, or you cannot identify the correct instructions. The same applies if a change in position creates persistent pain, numbness, or loss of control. A professional fitting conversation or service inspection can be more efficient than repeated changes based on a generic article.
For current product-specific details, use the product page for the HIEHA SU8 e-bike and its accompanying documentation rather than assuming that a general setup routine applies to every configuration. Product pages can change, and a cautious fit checklist should never override the information supplied for the exact bike and components in front of you.
A simple e-bike saddle-height checklist
Before riding, ask: Am I on stable ground with the bike turned off? Did I stay within the seat post’s marked adjustment range? Did I change only one thing at a time? Is the clamp secure and the saddle centered as intended? Can I reach the controls comfortably? Will I use a calm, familiar first ride to assess the result? If any answer is uncertain, pause. A patient setup is a better foundation than a rushed adjustment made on the way out the door.
The best saddle height is not a universal number. It is a secure, documented, comfortable starting position that you can evaluate gradually for your own riding. Respect the adjustment marks, rely on the correct instructions for the bike, and make room to ask for help when the hardware or the fit does not feel right.
Share:
E-Bike Locking Checklist: How to Secure Your Bike at a Stop
E-Bike Cargo Checklist: Carry Everyday Items More Carefully