
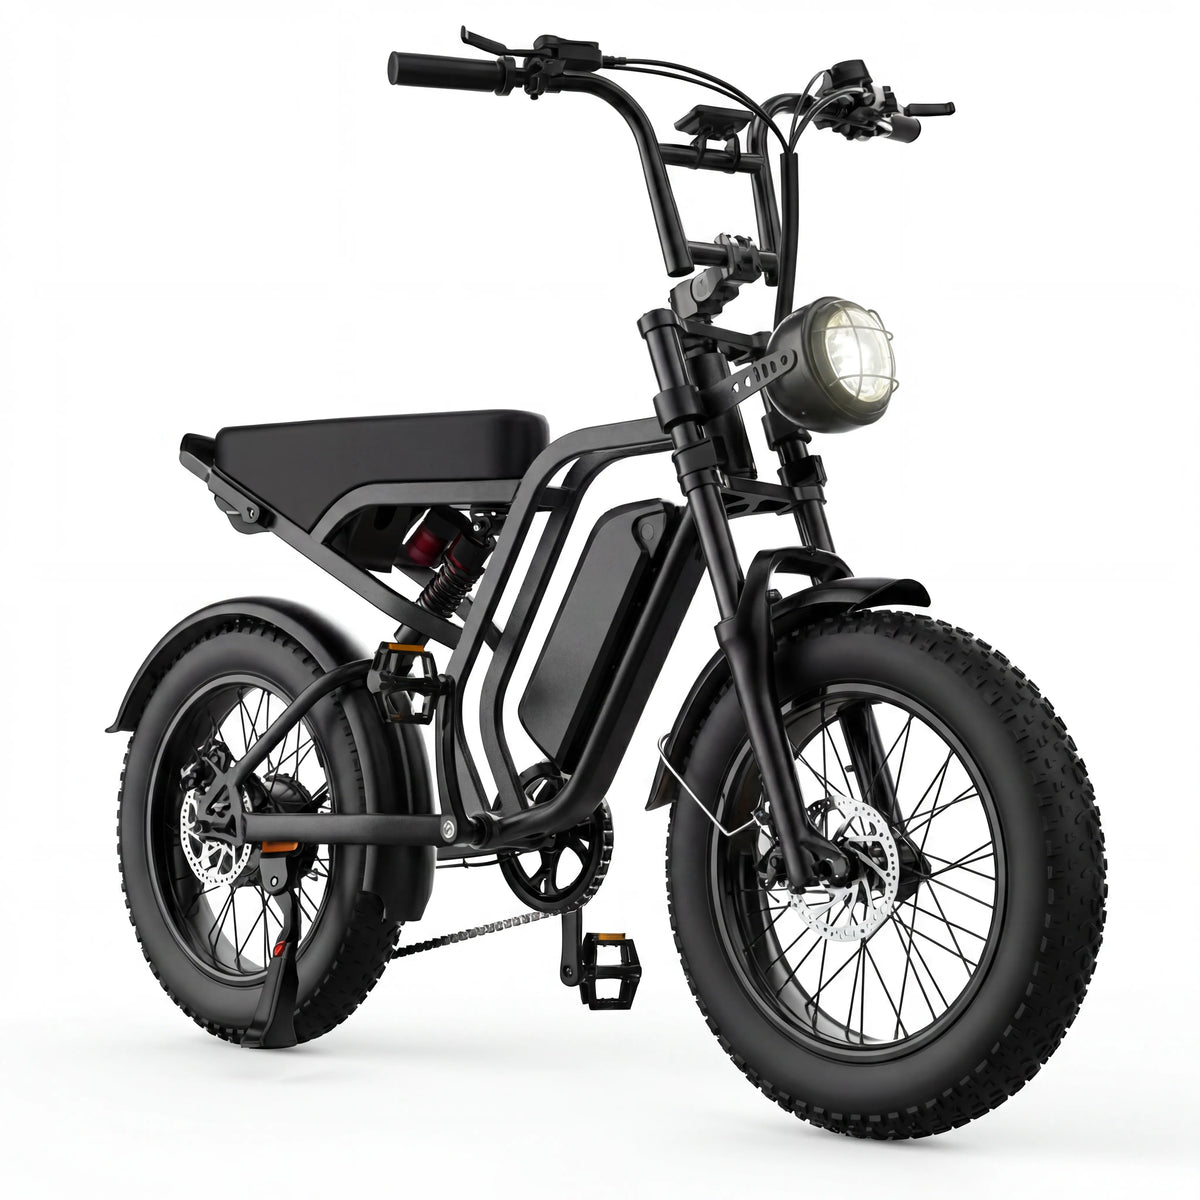
Low light changes an ordinary e-bike trip before the wheels start moving. A familiar street can look different at dusk, rain can reduce contrast, and a small obstacle can be harder to notice beside a curb or driveway. The useful response is not to promise that one accessory makes any ride safe. It is to make a short, repeatable decision: can you see clearly enough, can other people reasonably notice you, does the bike feel ready, and do you have a quieter alternative if the conditions are not right?
This is a model-neutral readiness checklist. It does not assume a particular light output, battery range, weather rating, or local rule. Start with the HIEHA e-bike collection when you need the current documentation for a specific model. For a local trip, check the rules that apply where you ride; lighting and equipment requirements can differ by place and condition.
Decide whether the ride needs to happen now
Begin with the simplest question: is riding the best way to make this trip in the light that is available? Dusk, dawn, glare from wet pavement, fog, smoke, heavy rain, and an unfamiliar route can all make an ordinary distance feel more demanding. A short ride is not automatically low risk just because it is close to home. If the route is dark, traffic is moving quickly, or you cannot make out the surface and the people around you, delaying the trip or using another mode of travel can be the calmest choice.
Think through the whole journey, including the way back. A route that begins under streetlights may end after a store closes or a trail entrance becomes darker. Identify one sensible place to stop, a route with more predictable crossings, and a way to contact someone if plans change. The e-bike commute planning guide offers the same route-first habit for regular trips: a slightly longer option can be more useful when it removes a rushed turn, poor sightline, or difficult crossing.
Check that you can be noticed
Visibility is shared work. You can make reasonable choices to be easier to notice, but you cannot assume every driver, pedestrian, or other rider has seen you. Current U.S. road-safety guidance emphasizes a white front light, red rear light, and reflectors at night or in poor visibility; local requirements may be more specific. Before leaving, confirm that the bike's fitted lights and reflectors are present, clean enough to work as intended, and not covered by a bag, jacket, lock, or accessory.
Turn on the equipment you intend to use while the bike is stationary, then look from the front, side, and rear. Do not stare into a bright light or try to judge its legal performance by eye. The practical check is more modest: does it switch on normally, is anything blocking it, and is there a clear reason to stop and consult the exact manual? If a light, reflector, wire, mount, or control looks damaged or behaves unexpectedly, do not improvise a repair on the way out.
Your clothing and carried items matter too. Choose colors or reflective details that help your outline stand apart from a dark background, but do not treat clothing as a replacement for lawful equipment or careful riding. A backpack can cover a rear reflector or light; a long coat or loose strap can move into a wheel or control. The e-bike cargo checklist is useful here: secure loose items, keep the handlebar and wheels clear, and re-check the bike from more than one angle.
Give your eyes time to adjust
Do the first check before you are already late. Step outside, let your eyes adjust to the available light, and look at the first part of the route without relying only on a screen or indoor lighting. Notice dark driveways, uneven pavement, puddles, leaves, construction edges, parked-car doors, and places where headlights can create glare. If you cannot separate the riding surface from the surrounding shadows, that is useful information—not a challenge to solve by moving faster or using more assist.
Keep the phone task simple. Set navigation before you begin, silence distractions, and stop in a stable location if you need to change the route. Do not use a bright screen as a reason to stop scanning ahead. At an intersection or entrance, assume a person may misjudge your distance or fail to notice you. Slow your decision-making before the situation becomes urgent, and leave extra room to respond rather than trying to prove a right of way.
Use a conservative bike check
Low light is not the time to discover that a normal control feels different. Start with a walk-around in a clear, well-lit area. Look for a loose item near a wheel, a cable that has been pulled, or anything that could catch while you turn. Confirm that your battery is seated as the model instructions describe and that the display and controls behave normally. If the bike has been parked outside or carried through a crowded area, take an extra moment to notice what changed before starting.
Then use the short observation routine in the before-riding brake check. It is not a stopping-distance test and it does not replace qualified service. It simply gives you a controlled place to notice an unfamiliar lever feel, visible damage, persistent rubbing, or another change that should postpone the ride. A predictable control area is especially valuable when you have less time to recognize a surface hazard.
Also look at the tires and the ground beneath the bike. You do not need a universal pressure number to make this check. Use the tire and model guidance that applies to your setup, and pause if a tire appears unusually soft, damaged, or different from the last ride. The pre-ride tire checklist explains how a quick visual inspection can help you decide whether a normal ride should wait for a closer look.
Make the first minutes intentionally easy
Choose the calmest available beginning: a level area, a predictable crossing, and enough room to stop. Start at a pace that lets you observe the surface and the bike rather than reacting to surprises. Avoid turning the first few blocks into a test of high assist, speed, or a new shortcut. If you have not used the bike in low light recently, a short familiar loop can tell you more than committing immediately to the busiest part of the route.
Keep a wider margin around driveways, intersections, trail access points, and parked vehicles. This is not a formula for a specific distance; it is a reminder that low light can delay recognition for everyone. When a condition feels uncertain, reduce the number of things happening at once. Slow down, choose a simpler path, or stop somewhere stable. Do not try to adjust a bag, aim a light, change a phone setting, or troubleshoot a control while the bike is rolling.
Finish the ride with the same care
At the destination, choose a place where you can stop without blocking a doorway, ramp, or path. Before leaving the bike, look for anything that shifted during the ride and take personal items that should not remain exposed. The e-bike locking checklist can help make the stop consistent: use an appropriate fixed object where allowed, keep the bike out of others' way, and avoid assuming a lock or parking choice guarantees an outcome.
When you return, repeat the first look before rolling away. Check that the route is still suitable, your items are secured, the lock is fully removed, and the controls are clear. A low-light ride is best treated as a series of small decisions rather than one long act of confidence. If light, traffic, weather, or the bike itself makes those decisions hard to make, the right next step is to pause and choose a safer plan.
Alongside lights and visibility checks, this e-bike helmet-fit checklist offers a quick way to confirm your bicycle helmet is positioned and secured before a low-light ride.
Share:
How to Walk an E-Bike Safely: A Practical Checklist
E-Bike Chain Care: A Simple Between-Rides Checklist